

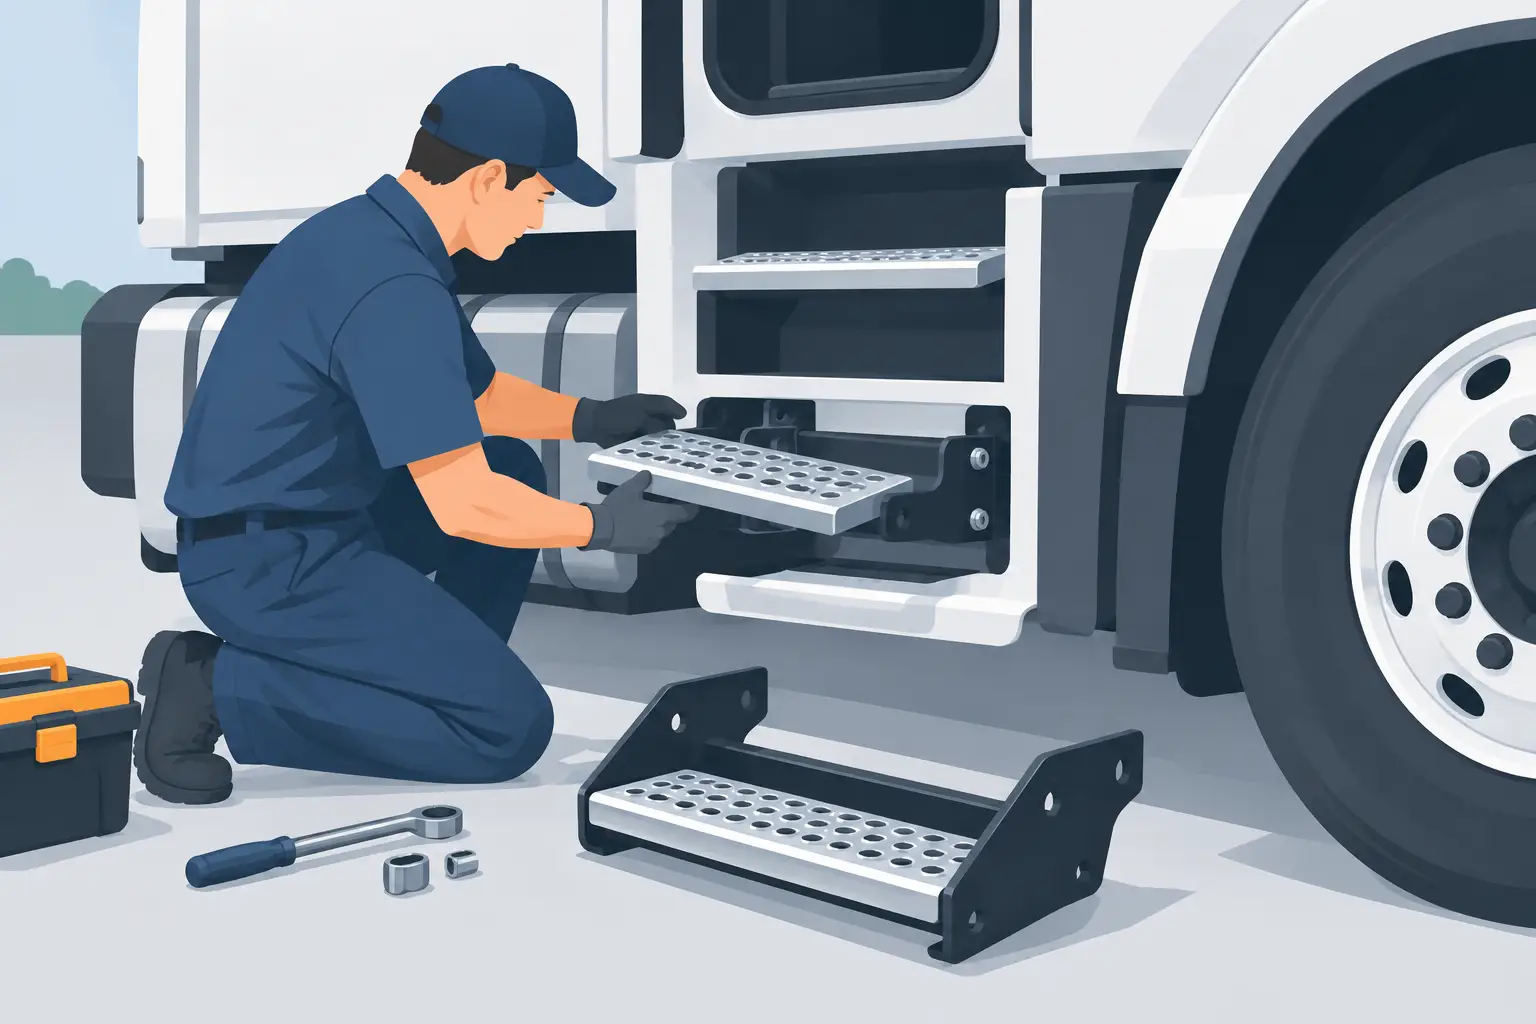
A bent step is more than an appearance issue. On a working truck, it can create a slip hazard, interfere with cab access, damage mounting hardware, and hold up a unit that should be back on the road. To replace commercial truck steps correctly, start with the truck configuration, not the damaged part. Similar-looking steps can use different brackets, tread profiles, fuel tank clearances, and mounting locations.
For collision shops and fleet maintenance departments, the objective is straightforward: order a step assembly that fits the truck in front of you, installs without modification, and gives the driver a secure entry point. That requires more than matching the make and model badge.
Identify What Actually Needs Replacement
Commercial truck steps are commonly sold as individual tread plates, lower steps, upper steps, complete step assemblies, step wells, brackets, and side fairing-related components. A damaged visible step does not always mean the complete assembly is bad. Inspect the surrounding parts before ordering.
Check the tread surface for cracked aluminum, split steel, missing anti-slip material, or deformation that affects footing. Then inspect the support brackets and frame-mounted hardware. A step can look acceptable from above while its lower bracket is twisted, corroded through, or pulled away from its mounting point.
On aerodynamic trucks, inspect the fairing and its attachment points as well. A side fairing can conceal damage to the step carrier, and forcing a new step into a distorted fairing opening can crack the replacement part or leave an uneven gap. If the truck struck a curb, loading dock, or roadside object, examine the fuel tank straps, battery box, air tank covers, and adjacent panels for impact damage.
Decide whether the repair calls for a single replacement tread or the full support assembly. Reusing sound brackets controls repair cost. Replacing a compromised bracket at the same time can prevent a repeat repair after the truck returns to service.
Match the Truck Before You Replace Commercial Truck Steps
Make, model, and year are the starting point, but they are not the complete fitment record. Medium- and heavy-duty trucks often change cab details, tank arrangements, frame layouts, and step designs within the same model family. A Freightliner, Kenworth, Peterbilt, International, Mack, Volvo, or Western Star application may have several step options tied to a specific production range or cab configuration.
Record the VIN when available, then confirm the information that affects the part. Identify the exact model and production year, cab style, driver or passenger side, and whether the truck has a sleeper. Note the location of the fuel tank, battery box, DEF tank, and any factory side fairings. On some applications, the step is integrated with the battery box or mounts directly beside a tank. On others, it is part of a larger lower cab panel arrangement.
Also compare the old part’s mounting pattern. Count mounting holes, measure center-to-center spacing, and note whether the step uses bolts, studs, clips, or welded brackets. Photographs of the installed part and the exposed mounting area are useful when a truck has an uncommon configuration or prior repair work.
Do not assume right and left steps are mirror images. Driver-side and passenger-side assemblies can differ because of exhaust routing, battery box placement, tank location, or fairing shape. A listing that specifies a side is not a minor detail. It is a fitment requirement.
Watch for Modified and Vocational Applications
Dump, refuse, utility, towing, and other vocational trucks deserve extra attention. Body builders may add toolboxes, hydraulic equipment, tanks, guards, or custom brackets near the cab. A catalog replacement step may fit the original chassis but conflict with equipment installed after the truck left the factory.
Inspect the clearance around the damaged step before ordering. If added equipment has changed the available space, determine whether the original assembly can be retained, whether only a tread can be replaced, or whether fabrication is needed. A correct OEM-style replacement cannot solve a clearance problem created by an aftermarket body installation.
Choose the Right Replacement Construction
Replacement truck steps are typically built from steel, aluminum, fiberglass-related body components, or combinations of these materials. The correct choice depends on the original design, the operating environment, and the surrounding assembly.
Steel steps and brackets provide familiar strength and are common on work trucks, but untreated damage can become a corrosion issue in northern fleet service. Aluminum treads reduce weight and resist rust, though they can bend or crack after a hard impact. Fiberglass step surrounds and lower cab panels can restore the appearance of aerodynamic trucks, but they need correct support and careful installation to avoid stress cracks.
Tread design matters for driver safety. Look for the original-style traction surface, including serrated, perforated, punched, or raised anti-slip patterns. A smooth substitute may be cheaper, but it is a poor trade when the truck is entered in rain, snow, mud, or oil-contaminated yard conditions.
Aftermarket replacement parts are a practical option when they match the original mounting points and application details. The best value is not simply the lowest line-item price. It is the part that installs correctly the first time and avoids extra labor, return freight, repeat downtime, and driver complaints.
Prepare the Mounting Area Before Installation
Do not install a new step against damaged sheet metal or distorted support hardware. Remove the old assembly and clean the mounting area thoroughly. Look for elongated holes, broken captive nuts, fractured welds, and corrosion hidden behind brackets or fairing panels.
Test-fit the replacement before final tightening. Start all hardware by hand and confirm that the tread sits level, clears the door swing, and aligns with adjacent fairings or lower cab panels. If the step assembly is tied to a battery box or tank support, verify those components are properly supported before removing shared fasteners.
Use the correct fastener size and grade for the application. Replace heavily corroded bolts, damaged clips, and stripped nuts rather than forcing old hardware back into service. Tighten fasteners evenly so the step is not pulled out of square. Where the truck manufacturer specifies torque values or thread treatment, follow those instructions.
After installation, apply body weight to the step from several positions. It should not flex excessively, shift on its brackets, contact a tire at steering angle, or rub a fairing edge. Open and close the door fully, then inspect from below for clearance around wiring, air lines, fuel system components, and exhaust parts.
Avoid the Ordering Mistakes That Create Rework
The most common mistake is ordering from a broad year range without confirming the cab and component layout. Another is replacing only the visible tread when the bracket or step well was bent in the impact. Both can turn a quick repair into a second teardown.
Avoid relying on a photo alone. Images help verify general shape, but they do not confirm hole spacing, side-specific contours, hidden mounting tabs, or compatibility with a particular tank and fairing arrangement. Use photos together with dimensions, application notes, and the truck’s configuration.
When the application is hard to identify, provide the truck details, the side needed, photographs, and measurements to a knowledgeable commercial-truck parts source. Front Ends 4 Trucks works with model-specific exterior and cab components, where differences in year range, cab setup, and adjacent body parts determine whether a replacement will fit.
Keep the Repair Focused on Safe Cab Access
A replacement step should restore the truck’s original access path, not merely fill an empty space below the door. Verify fitment before the order, inspect all related supports during disassembly, and test the installed assembly under load. That extra attention is usually the difference between a one-time repair and a truck that returns with the same problem a week later.