

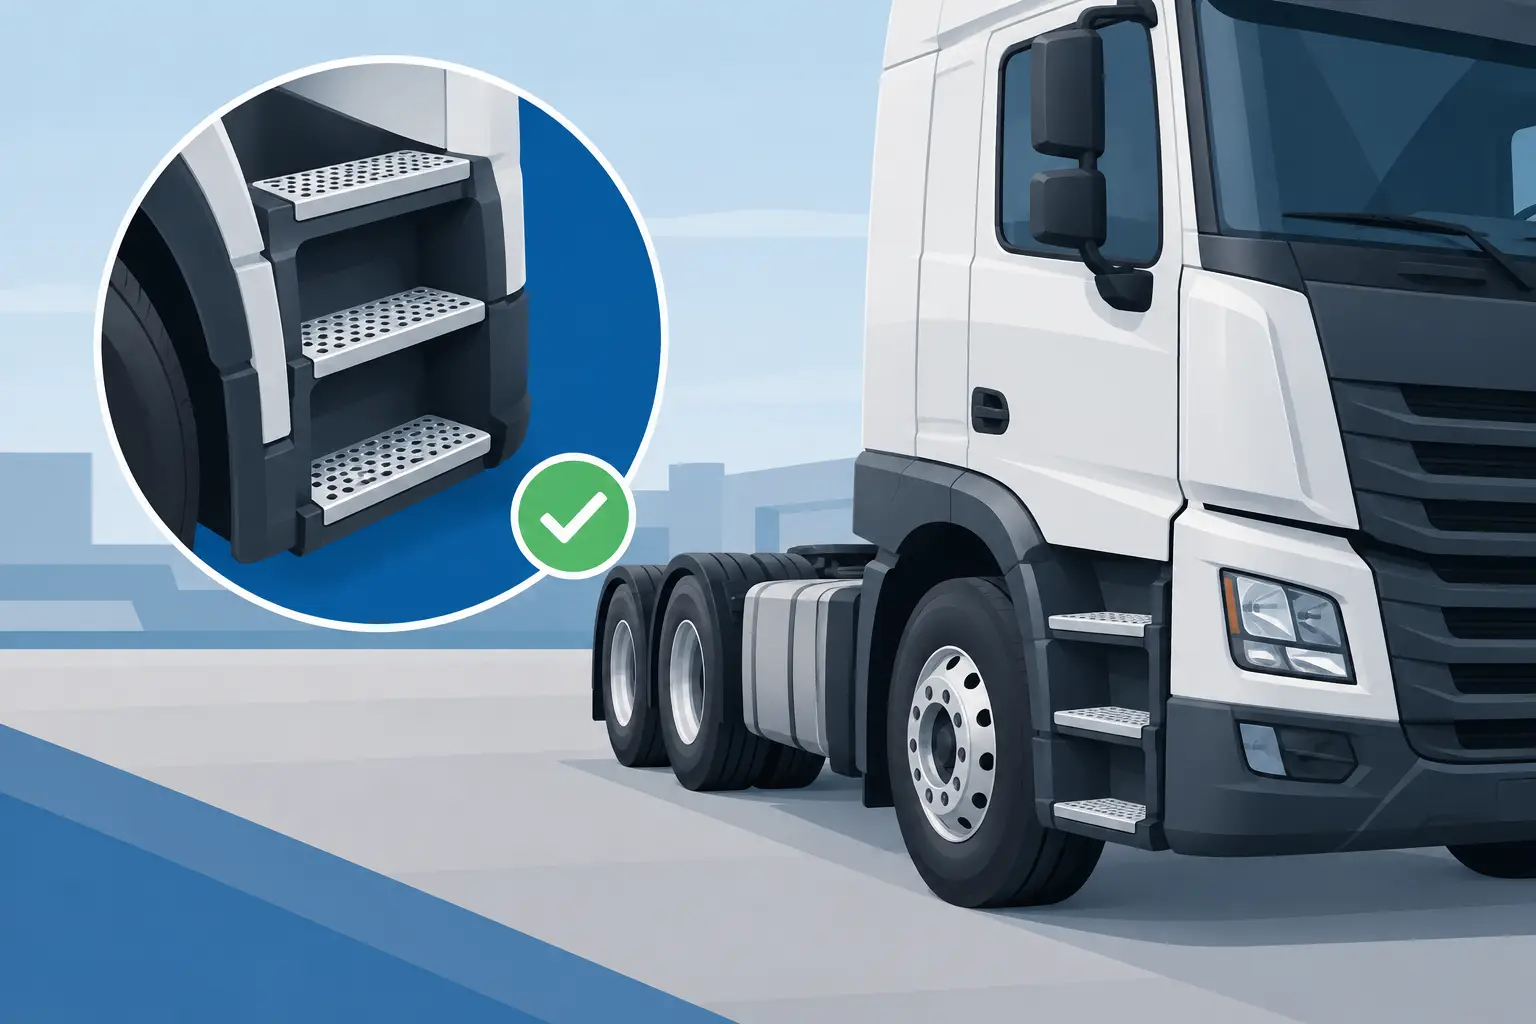
A bent, loose, or missing cab step is more than a cosmetic issue. Heavy duty truck cab steps take repeated abuse from boots, road spray, gravel, ice, jobsite debris, and impacts during collision events. When the step no longer provides secure footing, drivers lose safe access to the cab and technicians inherit a repair that can involve brackets, hangers, splash shields, fairings, or adjacent body panels.
For a replacement to work, the first question is not simply whether it fits a particular truck make. The right question is whether it matches the truck’s exact series, model year, cab configuration, step position, mounting design, and surrounding exterior components. Commercial truck applications change more often than many repair estimates account for.
Why Heavy Duty Truck Cab Steps Require Exact Fitment
Cab-entry assemblies are built around the truck’s chassis and cab geometry. A step may look similar across two model years or between day-cab and sleeper-cab versions, yet use different mounting holes, support brackets, tread widths, or fairing interfaces. Ordering by make alone can produce a part that is close, but not usable without modification.
Start with the vehicle identification details available at intake. Confirm the manufacturer, series, production year, cab type, and location of the damaged component. Identify whether the truck has a standard cab, extended cab, or sleeper, then note whether the step is on the driver or passenger side. On some applications, the lower step, upper step, step well, cover, and mounting hardware are separate service parts.
The surrounding equipment matters as well. Battery boxes, fuel tanks, air cleaners, side fairings, exhaust routing, and DEF tank placement can affect the step assembly. Vocational trucks may also have custom body equipment or chassis-mounted accessories that alter access requirements. A replacement part should match the original layout without interfering with these components.
Identify the Damaged Part Before Ordering
Collision damage often travels beyond the visible tread surface. A driver may report a damaged step, but inspection can reveal cracked supports, torn mounting tabs, distorted cab-side panels, or damaged fairing sections. Replacing only the visible step can leave the new part unsupported or misaligned.
Inspect the assembly from underneath and from the cab side. Look for bent brackets, missing fasteners, elongated bolt holes, corrosion around attachment points, and broken anti-slip surfaces. Check whether the step has shifted enough to affect door clearance or access to the battery box and service points.
It also helps to separate the repair into the actual part categories involved. A damaged lower entry step is not always supplied with its hanger. A step cover may not include the underlying support. If an outer fairing panel is cracked after an impact, it may need to be sourced separately from the step itself. This is where part descriptions, product photos, and exact fitment notes save time.
Match the Mounting Style
Mounting design is one of the most common sources of ordering errors. Some heavy-duty applications use bolt-on step assemblies attached to cab brackets. Others incorporate steps into a battery box cover, fuel tank cover, or aerodynamic fairing arrangement. The truck may use a fixed tread, a folding step, or a multi-piece assembly with separate upper and lower sections.
Before placing an order, compare the original component’s mounting points and shape with the replacement specification. Confirm the number and placement of attachment holes when that information is available. If brackets are bent, do not assume the original spacing reflects the intended factory position. Use undamaged mounting locations or application-specific part information to verify the layout.
Do Not Overlook Left and Right Side Differences
Driver-side and passenger-side steps are frequently non-interchangeable. The difference may be obvious, such as a mirrored shape, or it may appear in small details like a cutout, bracket angle, access door, or fairing contour. Fuel tank and battery box locations can make each side of the truck a different application.
Use the truck’s seating position when identifying left and right. In the United States, left side refers to the driver’s side when facing forward in the vehicle. This simple check prevents a common and costly return issue.
Material, Tread, and Finish Affect Service Life
The best replacement choice depends on the truck’s work environment and the condition of the surrounding assembly. Steel step components can provide the strength needed for demanding commercial use, but coatings and drainage matter in areas exposed to salt, moisture, and chemical wash. Aluminum options can reduce weight and resist corrosion, though they must match the intended mounting and load application.
Tread design deserves equal attention. Deep traction patterns, perforated surfaces, and raised grip features help drivers maintain footing in wet, muddy, or icy conditions. A smooth or worn surface may be easier to clean, but it is a poor trade-off if it reduces grip during frequent cab entry.
For fleet maintenance, consistency can be more valuable than selecting a different material for every repair. Standardizing suitable replacement assemblies by truck series can simplify stocking and help technicians recognize the correct hardware and installation approach. That said, standardization should never override confirmed vehicle fitment.
Plan the Repair Around Downtime
A truck with an unsafe cab step may be removed from service, particularly when the driver must climb around a damaged entry point to reach the cab. Fast identification starts with clear information: truck make, series, year, cab type, side of vehicle, photos of the damaged area, and any visible part numbers.
Photos should show more than the damaged face of the step. Include the underside, attachment points, adjacent battery box or fuel tank area, and the wider cab-side profile. A straight-on photo establishes shape, while an underside photo can reveal whether the bracket or support structure is also damaged.
When the truck is already in for collision repair, inspect related exterior parts before reassembly. A shifted bumper corner, damaged fender extension, cracked fairing, or bent cab mount can change panel alignment around the entry area. Addressing those items together is usually more efficient than reopening the repair after the replacement step will not sit correctly.
Installation Checks That Prevent Repeat Repairs
A replacement step should sit level, support normal entry, and clear nearby doors and access panels. Install it with the correct brackets and hardware for the application. Reusing corroded, stretched, or impact-damaged fasteners can undermine an otherwise correct repair.
After installation, check that the cab door opens without contact and that battery box, fuel tank, and service covers remain accessible. Apply normal hand and foot pressure to confirm the assembly does not shift or flex excessively. Verify that the tread drains properly and that no sharp edges, loose panels, or exposed mounting hardware create a hazard.
If the replacement part does not align cleanly, stop before drilling new holes or forcing the assembly into place. Modification can weaken the part, interfere with adjacent components, and create an avoidable warranty or safety issue. Recheck the truck series, model year, side, cab configuration, and whether the damaged part was identified correctly.
When a Catalog Match Is Not Enough
Older trucks, mixed fleet equipment, specialty vocational bodies, and previous repairs can make a straightforward lookup difficult. A truck may have a replacement cab, a non-original battery box, altered fairings, or a production variation that is not obvious from the exterior. In those cases, the fastest path is usually to provide detailed truck information and photos before ordering.
Front Ends 4 Trucks works from the details that matter: vehicle series, configuration, location of the part, and the components surrounding it. That approach is especially useful when a repair shop needs to distinguish between similar cab steps that cannot be installed interchangeably.
The right cab step is the one that restores safe entry without creating another fitment problem. Confirm the application before the order, inspect the complete mounting area, and treat the step as part of a larger cab-side assembly rather than an isolated tread surface.