

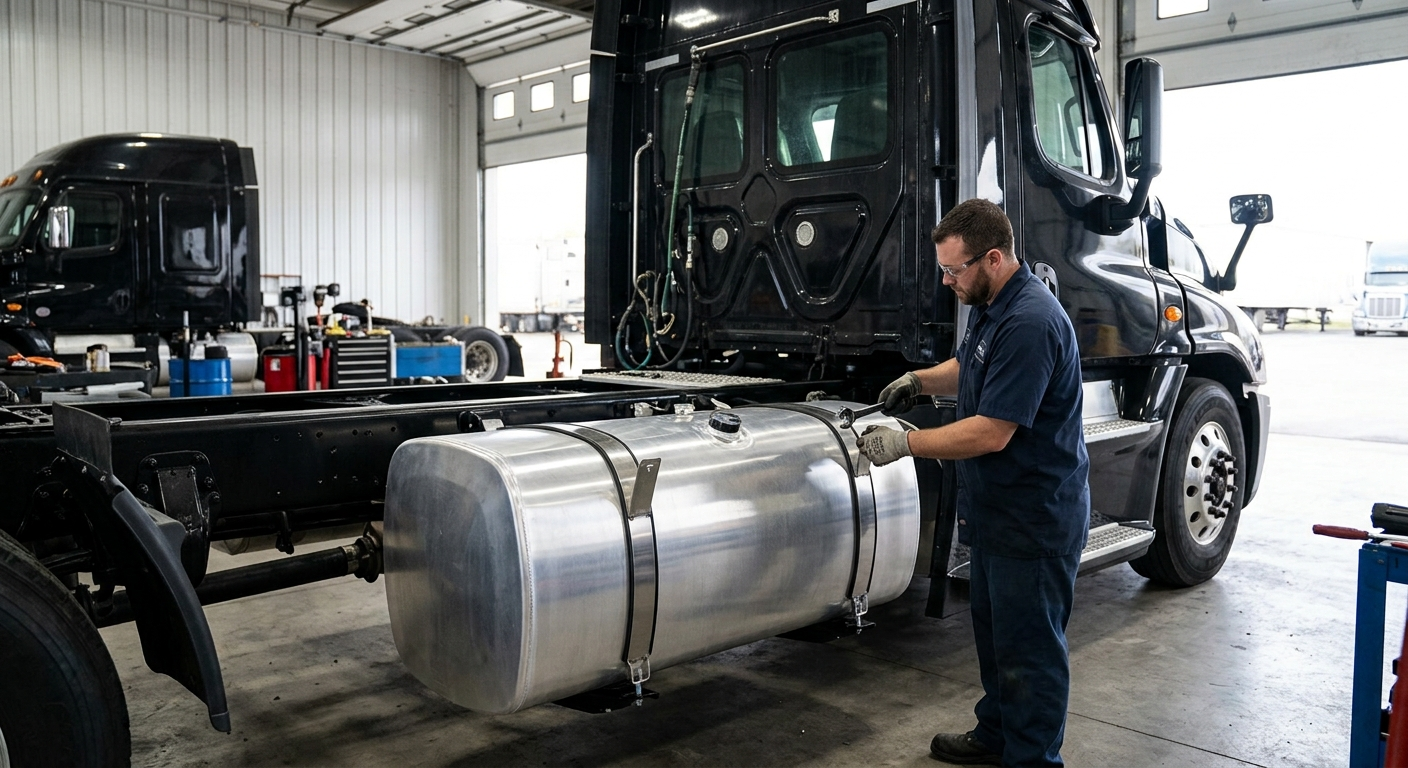
A fuel tank can look like a straightforward replacement part until it arrives with the wrong strap spacing, filler location, length, or mounting arrangement. Semi truck fuel tank replacement starts with identifying the truck configuration, not just selecting a tank by make. A tank that is close in capacity or shape can still create clearance problems, leak points, and avoidable downtime.
For repair shops, fleet departments, and owner-operators, the goal is simple: restore safe fuel capacity with a tank that mounts correctly and works with the truck’s existing straps, steps, brackets, fuel lines, and emissions equipment. Getting those details right before ordering protects the repair schedule and prevents a second round of labor.
Start With the Existing Tank Configuration
Do not identify a replacement tank by the truck badge alone. A Freightliner, Kenworth, Peterbilt, International, Volvo, or Mack can have multiple tank options within the same model year and series. Wheelbase, cab style, fuel capacity, side of installation, and vocational equipment all affect the tank package.
Start by recording the dimensions of the removed tank. Measure the overall length, diameter or height and width, and the distance between strap centers. Note whether the tank is mounted on the driver or passenger side, whether it is a primary or auxiliary tank, and whether it has a round, rectangular, or saddle-style design. Photograph the filler neck, vent connections, sender opening, drain location, and mounting brackets before disassembly.
The tank’s physical length matters beyond capacity. A longer tank may interfere with a battery box, DEF tank, step assembly, fairing, exhaust component, or rear tire travel. A shorter tank may leave the original straps unsupported or require different brackets. On trucks with side fairings, confirm that the replacement will clear the fairing supports and allow the access door to close correctly.
Confirm Capacity Without Assuming Gallons Tell the Whole Story
Fuel capacity is a useful reference, but it is not a complete fitment specification. Two tanks with the same listed gallon capacity may have different diameters, lengths, end shapes, or port locations. One may be intended for a clean-frame highway tractor, while another is built around a vocational application with limited frame space.
Verify the original capacity from the tank label, build information, or measured dimensions when possible. Then match that capacity to the mounting and plumbing layout. If the truck uses dual tanks, check whether both tanks are identical. Many systems use matching tanks, but crossover plumbing, filler placement, and sender locations can vary by side.
Choose the Right Tank Material for the Job
Replacement fuel tanks are commonly aluminum or steel. The correct choice depends on the original configuration, operating environment, repair requirements, and budget.
Aluminum tanks are widely used on highway trucks because they resist corrosion and offer a clean appearance. They are a practical choice for fleets operating in areas where road salt accelerates rust. Aluminum is not immune to damage, however. Impact damage, deep abrasion from loose brackets, and poorly supported mounting straps can compromise the tank.
Steel tanks are often selected for durability in demanding vocational service and may be appropriate where the original truck configuration used steel. They can be more vulnerable to exterior corrosion if coatings are damaged, especially in northern service areas. Inspect mounting surfaces and strap liners carefully to keep moisture and debris from wearing through protective finishes.
Material should not be treated as an appearance decision. Match the replacement to the application and verify that the straps, pads, brackets, and hardware are suitable for that tank style. Mixing incompatible components can create movement that eventually damages the tank shell or fittings.
Inspect the Parts Around the Tank Before Ordering
A tank replacement is the right time to inspect the parts that caused the old tank to fail or could damage the new one. Reusing worn straps or deteriorated rubber isolators can turn a correct replacement into another repair within a few months.
Check the mounting system for stretched straps, cracked brackets, damaged strap bolts, missing anti-chafe material, and frame corrosion. A tank must be supported evenly. Straps should hold it securely without crushing the shell, and the protective liners should be present where the straps contact the tank.
Inspect the filler neck, cap, vent hoses, crossover lines, supply and return connections, and sender or pickup assembly. Rubber hoses can harden, crack, or swell from age and fuel exposure. Fuel line routing should remain clear of sharp edges, moving components, hot exhaust parts, and driveline travel.
If the truck was involved in a collision, inspect the adjacent step, battery box, fairing bracket, frame rail, and cab support. A bent bracket can place the tank under constant stress even if the tank itself fits the specified dimensions.
Fuel Sender and Port Locations Need a Close Check
A tank may physically fit but still be wrong if the sender opening or fuel ports are in the wrong location. Before placing an order, document the number, size, and position of all openings. Confirm whether the truck uses a top-mounted sender, a side connection, a return port, a vent fitting, or provisions for crossover plumbing.
This is particularly important on late-model trucks with integrated fuel level systems and emissions-related routing. Do not force an existing sender into an opening that does not match the flange pattern or seal design. A poor seal at the sender opening can become a fuel leak, a gauge issue, or both.
Also check filler orientation. The filler neck must be accessible through the step, deck plate area, or side fairing opening designed for the truck. A tank with a filler on the wrong end may require unacceptable hose routing or make normal fueling impractical.
A Practical Pre-Order Checklist
Before ordering a replacement tank, have these details ready for the parts counter or purchasing team:
- Truck make, model, model year, and VIN when available
- Driver-side or passenger-side tank location
- Original tank material, shape, capacity, length, and diameter or width
- Strap-center measurement and bracket arrangement
- Filler neck, sender, vent, drain, and fuel-port locations
- Clearance concerns involving steps, battery boxes, fairings, exhaust, or auxiliary equipment
These measurements reduce guesswork, especially on older trucks, trucks with prior repairs, and applications that have been modified for fleet operations. If a catalog listing identifies a specific series or tank style, compare it against the physical truck rather than assuming every configuration within that series is the same.
Installation Practices That Prevent Repeat Repairs
Fuel system work requires a clean work area and proper safety procedures. Drain and handle fuel according to shop practices and applicable regulations. Keep ignition sources away from the work area, support the tank during removal and installation, and inspect every connection before returning the truck to service.
Install new or serviceable anti-chafe strips between the tank and straps. Make sure the tank sits squarely in its saddles and that the straps are tightened evenly to the manufacturer’s specification. Over-tightening can distort a tank or damage a strap; under-tightening allows movement that wears through the shell over time.
Reconnect lines without twisting, pinching, or placing side load on fittings. Once the system is assembled, check for leaks and verify the fuel gauge reading before releasing the unit. If the truck has dual tanks, confirm crossover operation and fuel transfer behavior under normal operating conditions.
When a Standard Listing Is Not Enough
Some applications need more than a make, model, and year search. A long-wheelbase tractor, day cab conversion, wreck repair, vocational body installation, or truck with non-original steps and battery boxes may require a closer review. In those cases, dimensions and photos are often more useful than a broad vehicle description.
Front Ends 4 Trucks works with commercial truck configurations where fitment details determine whether a replacement part can go on the truck without rework. When the visible application information does not settle the question, have the tank measurements, mounting details, and truck identifiers ready before calling 866-955-9755.
The best replacement tank is not simply the one with the right gallon rating. It is the one that clears the surrounding equipment, accepts the correct hardware and fuel-system components, and puts the truck back on the road without creating the next repair.
 English
  Spanish