

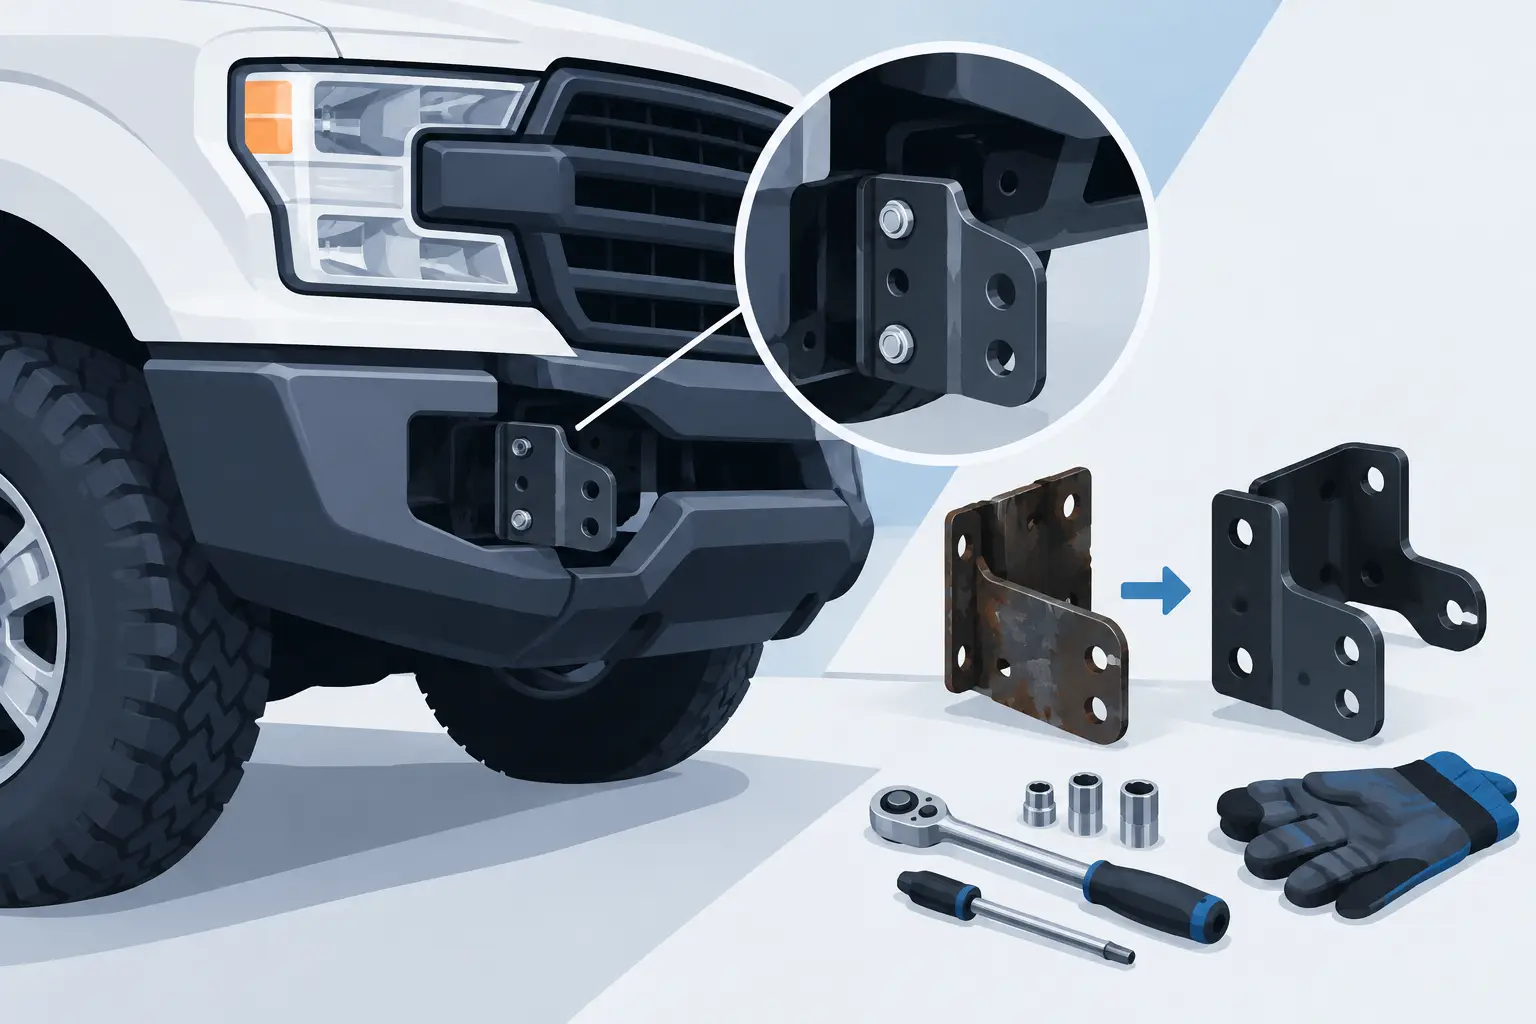
A bumper that sits low on one side, shifts when pushed, or leaves an uneven gap below the grille is rarely just a bumper problem. To repair truck bumper mounting brackets correctly, the technician needs to identify whether the failure is in the bracket, frame horn, crossmember, fasteners, bumper reinforcement, or related front-end structure. Replacing a visibly bent part without checking the mounting points can put the same truck back in the bay days later.
For collision centers, fleet shops, and owner-operators, bumper bracket work is about more than appearance. A loose or misaligned bumper can affect hood clearance, grille fit, headlights, sensors, tow provisions, and the truck’s ability to handle another minor impact. The right repair starts with a close inspection and an exact understanding of the truck configuration.
Start With the Bracket Failure, Not the Bumper
Bumper mounting brackets carry load between the bumper assembly and the truck’s frame or front support structure. On medium-duty and heavy-duty trucks, those brackets may be simple formed steel pieces, heavy fabricated supports, multi-piece assemblies, or brackets tied into a reinforcement and tow-hook arrangement. Their design changes by manufacturer, model series, year range, bumper style, axle position, and cab or hood configuration.
A bent chrome bumper or fiberglass bumper cover is easy to see. The bracket damage behind it may be less obvious. Look for elongated bolt holes, cracked welds, crushed mounting flanges, twisted gussets, torn frame-horn material, and hardware that has pulled through its seating surface. Rust deserves the same attention. Corrosion around a bracket mounting face can remove enough material to prevent the fastener from holding proper clamp load.
Check the bumper from several reference points before removing parts. Compare the left and right height at the fenders, measure the gap below the grille, and look at the relationship between the bumper and hood. If the bumper is centered but one end is rotated, the bracket may be twisted. If both ends are low or pushed rearward, inspect the bumper reinforcement, crossmember, and frame mounting locations rather than assuming both brackets failed.
Check What Was Hit
Impact direction helps determine what needs replacement. A straight-on impact can bend both brackets rearward, collapse a reinforcement, or damage the center mounting structure. A corner strike often affects one bracket, the bumper end, adjacent fender extension, headlamp mounting area, and grille surround. A low-speed contact with a curb, loading dock, or road debris may tear hardware loose without visibly deforming the bumper face.
Do not overlook prior repairs. Mixed hardware, stacked washers used as spacers, fresh paint over cracked metal, and weld beads outside the original bracket design are warning signs. A truck can arrive with an apparent new collision issue when the real cause is an earlier bracket repair that never restored correct alignment.
When to Repair Truck Bumper Mounting Brackets
A bracket can sometimes be repaired when damage is minor, the steel is not cracked or heavily corroded, and the repaired component can be returned to its original shape and load path. This is generally limited to light distortion at a non-critical flange or mounting ear. The final repair must allow the bumper to sit square without forced alignment, oversized shims, or altered bolt placement.
Replacement is the better choice when a bracket is cracked, has stretched bolt holes, has torn at a weld or gusset, shows deep corrosion, or remains twisted after controlled straightening. A bracket that has been heated excessively during a previous repair may also be unreliable. Heavy truck bumper assemblies see vibration, weather exposure, road shock, and repeated service loads. A compromised mounting bracket can continue to move even when the bumper looks aligned at delivery.
Frame damage changes the scope of work. If the bracket is sound but the frame horn, frame extension, or crossmember is bent, replacing the bracket alone will not correct the condition. Measure the mounting structure against manufacturer specifications or approved collision-repair dimensions before ordering exterior parts. The bumper must mount to a stable, correctly positioned foundation.
Welding Is Not a Shortcut for Missing Material
Welding a crack or adding material around an enlarged hole may seem faster than sourcing a replacement bracket. It can be acceptable only when the repair procedure, material condition, and welding capability support it. Welding over rust, bridging a torn flange, or building up a damaged fastener hole without restoring the original geometry is not a dependable commercial-truck repair.
Bracket material thickness, reinforcement shape, and surrounding components matter. Some assemblies are designed to deform in an impact and should be replaced rather than reworked. Others are part of a larger support structure where a repair affects bumper position, cooling-air openings, or hood operation. If the condition is questionable, replacement avoids repeating the labor after the truck returns to service.
Fitment Details That Change the Bracket
The phrase “bumper bracket” is not enough to identify a part. A Freightliner, International, Kenworth, Peterbilt, Mack, Volvo, Ford, or GM truck can have multiple bumper mount designs within the same model family. The wrong bracket may physically bolt to one location but place the bumper too high, too low, too far forward, or off-center.
Confirm the truck’s full application before ordering. Start with the make, model, model year, and VIN information available to the shop. Then identify the bumper type and material, grille style, headlamp arrangement, hood length, axle configuration, and whether the truck has tow hooks, a front-mounted accessory, or a specific reinforcement assembly. On vocational trucks, front attachments and frame extensions can create further exceptions.
Match the existing bracket by more than a photo. Compare mounting-hole count and spacing, left- or right-hand orientation, offset, bend profile, gusset location, thickness, and the attachment points for any reinforcement or valance. If the bracket was destroyed in the impact, use undamaged parts on the opposite side, factory diagrams, and measurements from the truck rather than guessing from a general model description.
This is where a commercial-truck-focused supplier matters. Front Ends 4 Trucks organizes exterior parts around exact manufacturer and series applications because details such as headlamp type, hood configuration, and production range can determine whether a front-end component fits at all.
Install for Alignment, Then Final Torque
Before final tightening, loosely install the bracket, bumper reinforcement if equipped, bumper, and related supports. Start all hardware by hand. This keeps the assembly from being pulled into a bind and makes it easier to see whether the bracket is truly correct for the truck.
Set the bumper position using consistent reference points. Check left-to-right centering, height at both fenders, distance from the grille, clearance to the hood, and the relationship to headlights and lower panels. On trucks with a tilt hood, cycle the hood through its full travel. A bumper that looks acceptable with the hood closed can contact the hood, fender extension, or grille surround when opened.
Once the fit is correct, tighten fasteners in a controlled sequence using the applicable service information. Replace damaged bolts, distorted washers, and locking hardware rather than reusing questionable pieces. Do not use shims to hide a bent structural mounting point. A limited shim may be part of the original design, but a stack of added washers usually signals an unresolved alignment problem.
After torqueing, recheck every gap and inspect from the front and both corners. Confirm that lights, grille components, air deflectors, tow provisions, and sensor mounts are secure. A short road test or vibration check is worthwhile when the repair involved a major impact or multiple front-end components.
Control Downtime With a Complete Parts Plan
The bracket is often only one part of the repair. A corner impact may require a bumper, reinforcement, brackets, grille surround, fender extension, headlamp assembly, lower valance, and mounting hardware. Ordering only the most visible damaged part can leave the truck waiting on a second shipment after teardown.
Build the estimate around the complete mounting system. Inspect both brackets, center supports, reinforcement, bumper face, fasteners, adjacent panels, and the mounting structure before placing the order. Photograph part numbers and damaged areas while the truck is still assembled when possible. That record speeds up part identification and helps prevent an incorrect order.
When a catalog listing does not fully match the truck, have the application details ready before calling: make, model, year, VIN, hood style, bumper description, headlight layout, photos, and measurements of the existing mount. Accurate information at the start is usually faster than exchanging a part after the truck has been disassembled.
A bumper should sit square because the brackets, hardware, and support structure are square. Treat that alignment as the final check on the repair, and the truck is far more likely to leave the shop ready for work instead of returning for another adjustment.