

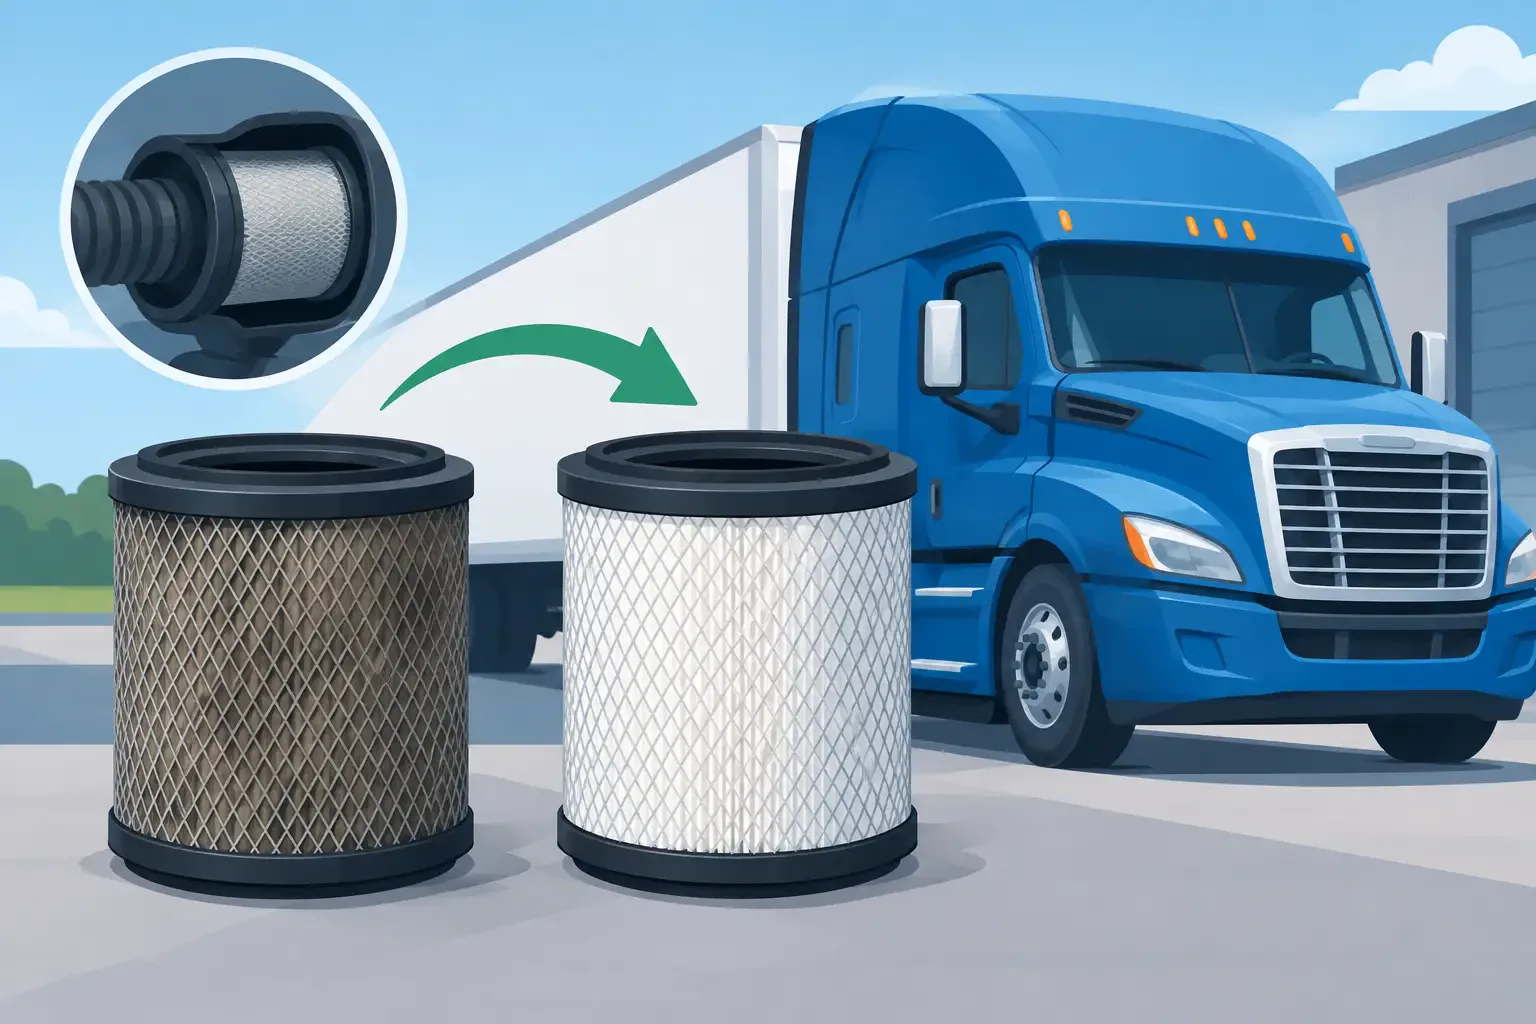
A truck can have a clean filter element and still need attention at the intake assembly. When you replace commercial truck air cleaners, the job is not always about routine filtration service. Collision damage, cracked housings, missing clamps, worn mounting straps, and poor sealing can all put unfiltered air into an engine or leave a truck with an air cleaner that will not stay secure in service.
For repair shops, fleets, and owner-operators, the right replacement starts with identifying whether the problem is the filter, the air cleaner assembly, or the connecting intake components. Those parts may look similar across applications, but mounting location, inlet and outlet orientation, hood clearance, bracket design, and cab configuration can change from one truck series to the next.
Know When an Air Cleaner Assembly Needs Replacement
A filter element is a service item. The air cleaner housing and its related exterior components are expected to last longer, but they work in a demanding location. Road spray, vibration, debris impacts, engine movement, and collision repairs can compromise the assembly well before a technician sees an obvious performance complaint.
Replace the complete air cleaner or damaged outer assembly when the housing is cracked, the lid no longer seals, the inlet or outlet neck is broken, or the mounting points are pulled loose. A housing that has been patched repeatedly may hold together temporarily, but it can create a leak path that defeats the purpose of the filtration system. If the air cleaner is loose against the cab, hood, or frame, vibration can quickly turn a small mounting problem into a broken duct, damaged bracket, or worn-through housing.
Watch for these conditions during inspection:
- A cracked canister, loose cover, damaged sealing surface, or missing restriction indicator connection
- Broken intake tubes, rubber elbows, clamps, or hose beads that prevent a tight seal
- Bent support brackets, failed straps, or damaged mounting hardware after a front-end or side-impact repair
- Water intrusion, accumulated debris, or evidence of dust passing downstream of the filter element
Do not assume a new filter solves every restriction or contamination issue. A collapsed intake hose, blocked pre-cleaner, damaged rain cap, or incorrect internal filter installation can affect airflow just as much as a dirty element.
Separate Filter Service From Housing Failure
Most fleets base filter replacement on the vehicle manufacturer’s restriction specification, service interval, or a restriction gauge reading. That is the right approach. Replacing filters too early adds cost, while running beyond the recommended restriction limit can reduce engine performance and increase the chance of filter damage.
The air cleaner housing should be inspected every time the element is serviced. Check the cover seal, clamps, drain provisions, mounting straps, inlet screen or pre-cleaner, and the clean-air side ducting. The clean-air side matters most. Any gap between the filter and engine intake allows contaminants to bypass the filter entirely.
If dust is visible inside the clean-air tube, do not install another element and send the truck out. Inspect the filter seating surface, housing distortion, outlet tube, clamps, and all connections leading toward the turbocharger. On a heavy-duty diesel, a small leak can become an expensive engine issue.
There is also a practical distinction between a cosmetic blemish and structural damage. A scuffed external canister may remain usable if it is intact, sealed, and securely mounted. A deep impact crease near a seam, mounting point, or duct connection is different. It can weaken the assembly and cause a failure later, often when the truck is already back in service.
Match the Truck Before Ordering a Replacement Air Cleaner
Commercial truck air cleaners are not universal. The make and badge are only the starting point. A Freightliner, International, Kenworth, Peterbilt, Mack, Volvo, Western Star, Ford, or Hino application may have multiple intake designs within the same model family.
Start with the truck’s exact model, model year, and VIN information when available. Then confirm the engine and the physical layout of the existing assembly. A replacement must match more than the overall shape of the housing. Verify whether the air cleaner is mounted under the hood, beside the cab, behind the cab, or integrated with an exterior intake stack. Check the inlet and outlet diameter, the direction of both connections, bracket locations, strap spacing, and clearance around the hood or fender.
This is especially important after collision work. A replacement hood, fender extension, headlamp assembly, or side panel may alter the space around the intake system. Some truck configurations use different components based on hood length, headlight arrangement, axle position, set-forward or set-back front axle, and cab style. A part that appears correct in a product image can interfere with the hood or leave the intake opening misaligned once installed.
For an exterior air cleaner assembly, compare the old component against the replacement in four areas: mounting points, intake and outlet locations, overall diameter or length, and associated brackets or covers. If the old part number is readable, retain it with the work order. It is often the fastest way to confirm an equivalent replacement, particularly on older trucks or units that have already received previous repairs.
Do Not Overlook Related Intake Parts
An air cleaner replacement may expose other parts that should be addressed at the same time. A new housing cannot compensate for a hardened rubber elbow or an ovaled clamp that no longer holds tension. Likewise, reusing a bent bracket can place stress on a new canister and cause another failure.
Inspect the intake stack, pre-cleaner, rain cap, hoses, elbows, clamps, brackets, straps, grommets, and any exterior cover or shield around the assembly. If a truck was involved in a collision, inspect surrounding cab panels and hood components for contact points. A shifted hood or damaged fender extension can rub through an intake tube over time.
On vocational trucks, operating conditions also matter. Dump, construction, agricultural, and off-road applications may see higher dust loads and more physical exposure than highway tractors. A heavy-duty assembly with proper mounting and an intact pre-cleaner may be the better repair than trying to reuse damaged pieces simply because the filter element still fits.
Installation Checks That Prevent Repeat Repairs
Before installing the replacement, clean the mounting area and remove debris from the intake path. Do not allow dirt to enter the clean-air side while the housing or ducting is open. Check that the filter element seats squarely and that the cover closes without forcing it into position.
Mount the housing without twisting it against the brackets. Tighten straps and clamps evenly, but do not overtighten plastic components or deform a rubber connection. The assembly should be secure enough to handle vibration without contacting the hood, cab, fender, battery box, or other adjacent components through the engine’s movement range.
After installation, inspect every connection from the air inlet through the outlet duct. Start the truck and listen for an air leak or unusual intake noise. On applications with an electronic restriction or intake sensor, verify that the connector and hose routing are correct. A component that fits physically but leaves a sensor port unused or a warning connection damaged is not a completed repair.
For fleet maintenance records, note the truck identification, air cleaner part number, filter element number, condition of the removed assembly, and any related hardware replaced. That information helps identify repeat vibration issues, recurring damage locations, or applications where a different bracket or intake component is needed.
Get Fitment Details Before the Truck Is Down Too Long
The fastest order is not always the fastest repair. Ordering by truck make alone can result in the wrong inlet orientation, missing hardware, or a housing that does not clear the hood configuration. Take clear measurements and document the existing setup before removing a damaged assembly when possible.
Front Ends 4 Trucks focuses on commercial truck exterior and replacement components where configuration details matter. If the catalog listing does not fully resolve the application, have the truck’s model year, series, engine, old part number, intake location, and photos or measurements ready when requesting assistance. That gives the parts team the information needed to narrow down the correct assembly and related components.
A properly matched air cleaner protects more than the filter element. It protects the engine’s air path, prevents repeat body-panel contact, and keeps a working truck from returning to the shop for a repair that should have been handled once.