

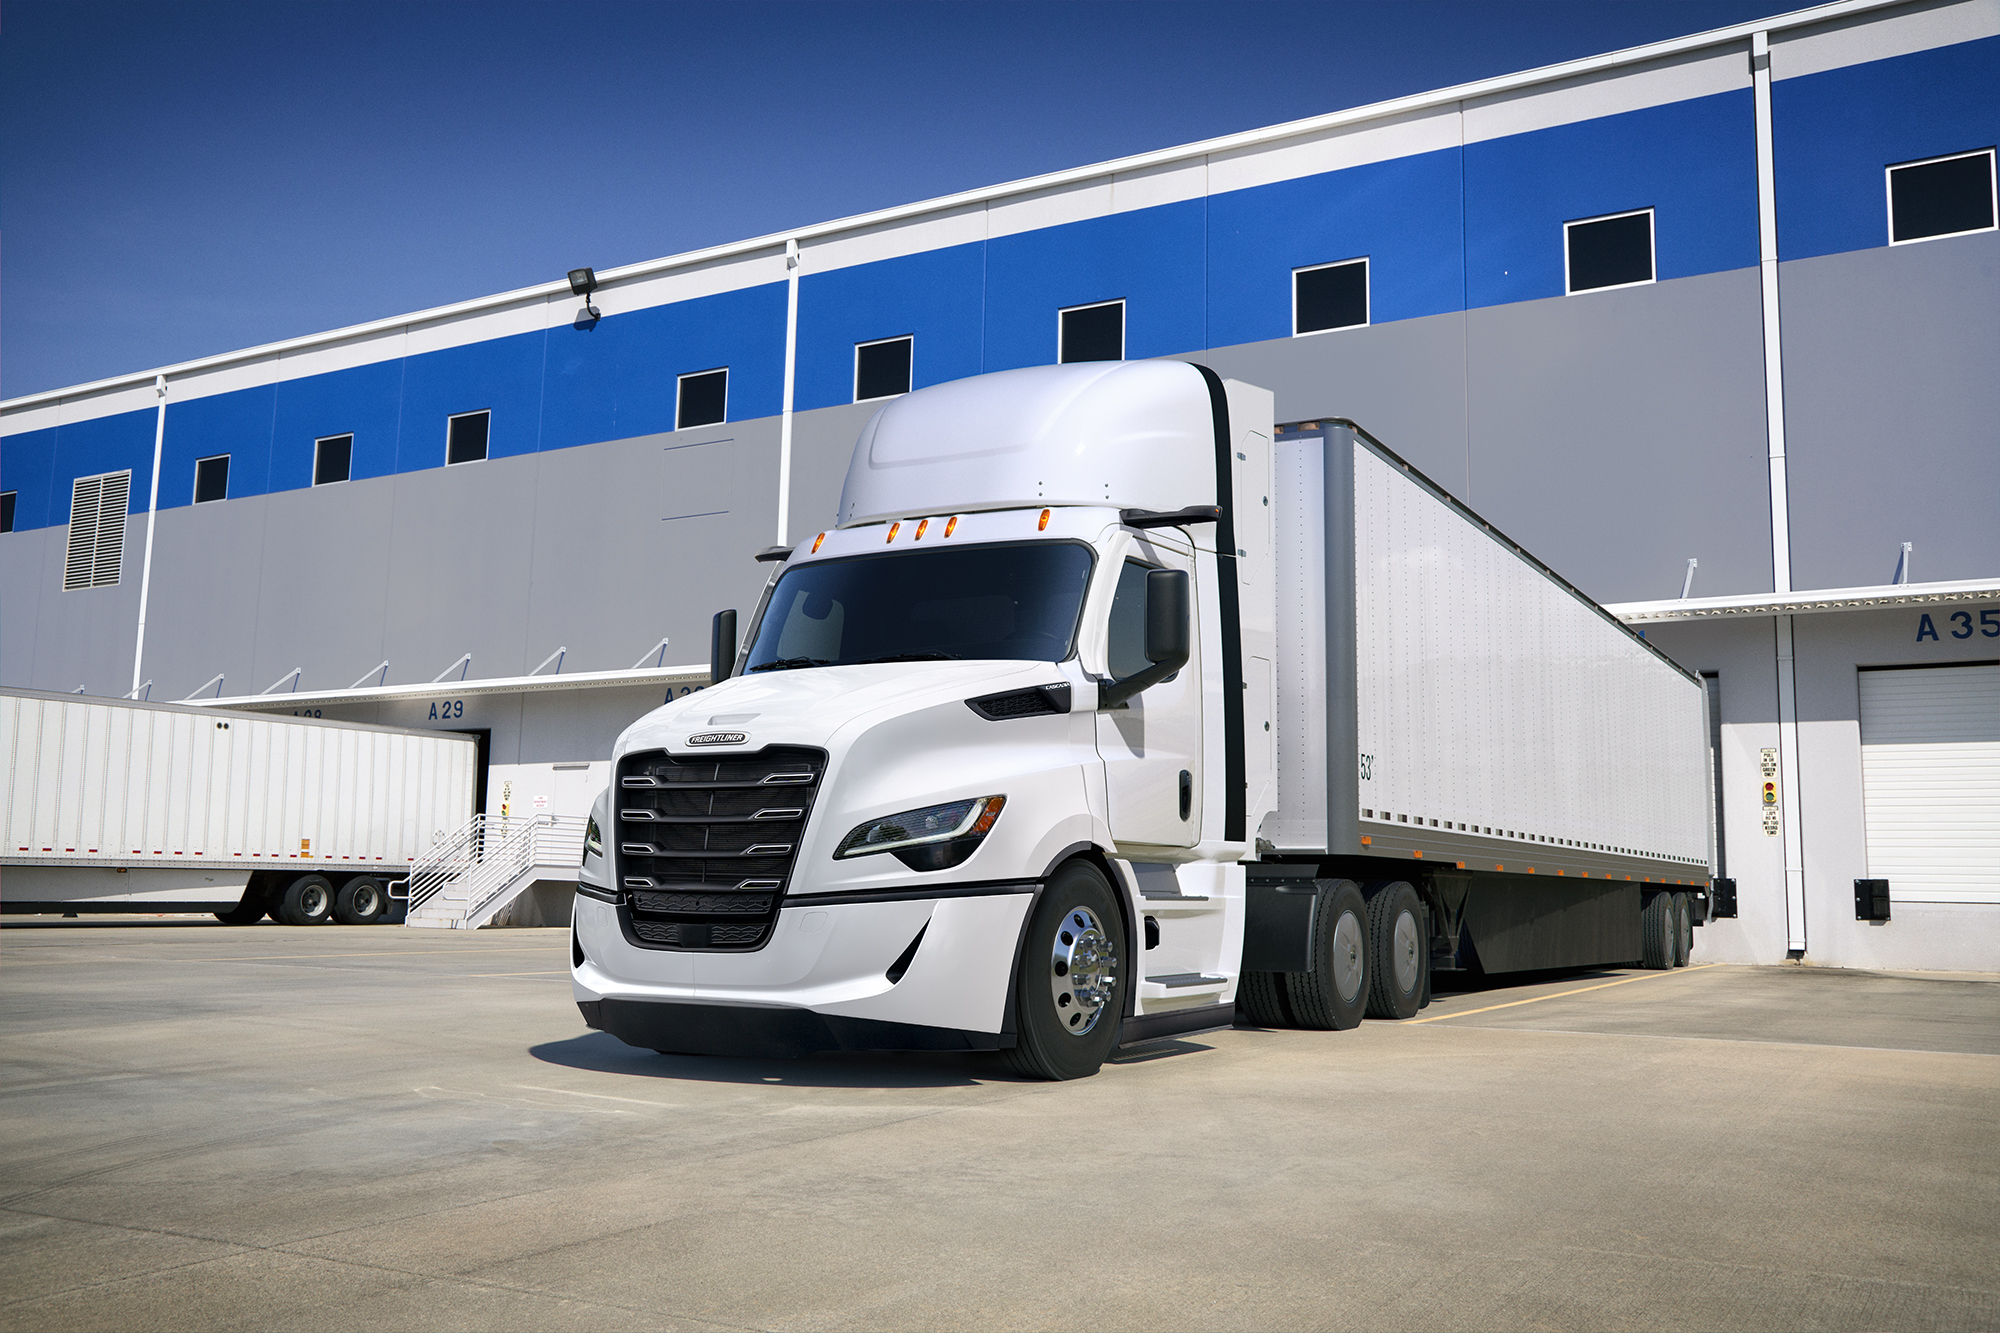
A Freightliner Cascadia hood replacement is not a part to order by appearance alone. Two trucks parked side by side can have different hood lengths, grille treatments, headlamp arrangements, mounting hardware, or emissions-era front-end details. A hood that looks close can create hours of rework when the grille, bumper, fender extensions, or lamps will not line up.
For a collision shop, fleet maintenance department, or owner-operator, the goal is straightforward: identify the exact truck configuration before the damaged hood comes off, order the correct replacement assembly or shell, and keep the unit out of the bay for as little time as possible. The details below are the ones worth confirming before a Freightliner Cascadia hood order is placed.
Start With the Exact Cascadia Configuration
Cascadia production spans multiple generations and front-end revisions. Start with the model year, but do not stop there. Record the VIN, then compare the actual hood and front-end components on the truck. VIN information helps establish the base vehicle, while a physical inspection confirms what is currently installed.
Measure the hood from the cowl area to the front edge and note whether the truck uses a short, mid-length, or longer configuration. Hood length affects more than the hood itself. It can change the position of the grille, bumper, headlamp assemblies, fender extensions, inner structure, and mounting points. A hood intended for a different wheelbase or axle layout may not work even when the cab and badge appear similar.
Photos are useful, but take the right ones. A straight-on front photo, both front corners, the driver-side and passenger-side hood sides, the rear hinge area, and the underside of the hood will answer far more fitment questions than a single damaged-front photo. Include close images of the headlights, grille surround, hood-mounted mirrors if equipped, air intake openings, and any retained brackets.
Identify the Front-End Parts That Must Match
Before selecting a replacement, verify the headlight style and location. Cascadia front ends can use different lamp housings and surrounding panels depending on year and hood configuration. The shape of the headlamp opening is a critical match point. Do not assume an existing lamp can transfer simply because the new hood is from the same Cascadia family.
Check the grille and grille surround as well. The grille opening, mounting tabs, and trim profile must correspond to the hood. If the hood was damaged in a collision, inspect the grille surround closely for cracks, pulled mounting points, and distorted fastener locations. Reusing a stressed surround often creates poor gaps after the hood is installed.
Also confirm the bumper arrangement, fender extensions, lower splash panels, and hood-mounted accessories. A replacement hood may be supplied as a shell rather than a complete, ready-to-install assembly. That is often the right option when reusable components are in good condition, but it requires an accurate transfer-parts plan.
Inspect More Than the Visible Hood Damage
A cracked fiberglass hood tells only part of the story. Before ordering, inspect the hinges, hinge brackets, hood supports, latches, striker points, bumper brackets, radiator support area, and front cab structure. If the hood was forced backward or twisted in a frontal impact, a new hood will not correct damaged mounting geometry.
Open and close the existing hood if it is safe to do so. Look for unequal gaps at the cowl, door edge, grille, and bumper. Check whether both hood hinges move freely and whether the hood support hardware holds the hood square. Measure from fixed cab reference points to each hinge location when there is any concern about a shifted bracket.
A hood that sits high on one side, rubs a fender extension, or will not latch is not always a hood problem. It may be a bent hinge, a damaged latch support, or a bumper and grille assembly that has moved out of position. Ordering the correct hood is essential, but correcting the supporting structure before final alignment is what produces a finished repair.
What a Replacement Hood May Require
Most Cascadia hood replacements involve transferring components from the original hood or sourcing related front-end parts separately. The exact contents depend on the hood version and supplier, so confirm what is included rather than assuming it arrives with every installed component.
A typical replacement job may require the existing grille, grille surround, headlights, wiring retainers, hood hinges, latches, hood-mounted mirrors, insulation, air intake components, seals, and lower trim pieces to be inspected and transferred. Any item with broken tabs, stretched holes, stress cracks, or collision distortion should be replaced before paint and final assembly.
Fiberglass aftermarket hoods provide a practical replacement option for damaged commercial trucks, particularly when controlling repair cost and obtaining a serviceable front end are the priority. However, fiberglass repairs and preparation have their own requirements. Inspect the hood on delivery before paint work begins. Check the gelcoat surface, mounting areas, edges, lamp openings, grille opening, and inner reinforcement. Test-fit major components before final finishing whenever the repair schedule allows.
Do not force fasteners through misaligned holes. Enlarge or adjust only when the hood manufacturer’s installation guidance supports it and the surrounding parts are known to be correct. Forcing a grille, lamp, or hinge into position can crack fiberglass, distort the component, and make later service more difficult.
Plan Paint and Assembly in the Right Order
A clean repair process usually starts with a dry fit. Mount the hood, install the hinges and latch hardware, then check the relationship between the hood, grille, headlights, bumper, and cab before paint. Confirm that the hood opens fully without contacting the cab, mirrors, air cleaner, or nearby components.
Once fit is established, remove the components needed for finishing. Prime and paint using materials and procedures suitable for fiberglass. After curing, reassemble carefully with correct clips, retainers, seals, and fasteners. Final alignment should be completed on a level surface with the truck at normal ride height.
Do not overlook headlight aiming after reassembly. Hood and lamp fit can affect the apparent lamp position, and a collision repair may also involve disturbed brackets. Verify lighting operation, turn signals, marker lamps, harness routing, and lamp aim before releasing the truck.
Avoid the Most Common Ordering Mistakes
The fastest way to create downtime is to order from a broad year range without verifying the truck’s actual front-end setup. Cascadia changes are often subtle from a distance but significant at the mounting surface. Use the production year, hood length, lamp configuration, grille design, and clear photos together.
Another mistake is ordering only the hood after a substantial impact. If the grille, surround, hinges, extensions, or bumper brackets are compromised, the repair can stall while additional parts are identified. Build an estimate from an inspection of the complete front-end assembly, not only the largest damaged panel.
Finally, do not discard the old hood until the replacement is trial-fitted and all transferable components are accounted for. The original hood remains the best reference for bracket locations, fastener types, seals, wiring clips, and accessory placement.
Get Fitment Details Before the Truck Is Down
When catalog information does not clearly resolve a Cascadia application, have the truck year, VIN, hood measurements, photos, and the list of needed related parts ready before calling. This gives a parts specialist the information needed to separate similar-looking hood options and identify likely fitment exceptions.
Front Ends 4 Trucks works with commercial truck front-end components every day, including fiberglass hoods and the related exterior parts that complete a repair. For specialized Cascadia applications or components not visible in the catalog, call 866-955-9755 with the truck details in hand.
A correct hood order starts with the truck in front of you, not a general model description. Take the extra few minutes to verify the configuration before ordering, and the replacement will move through paint, assembly, and final alignment with fewer surprises.
 Spanish
  English