

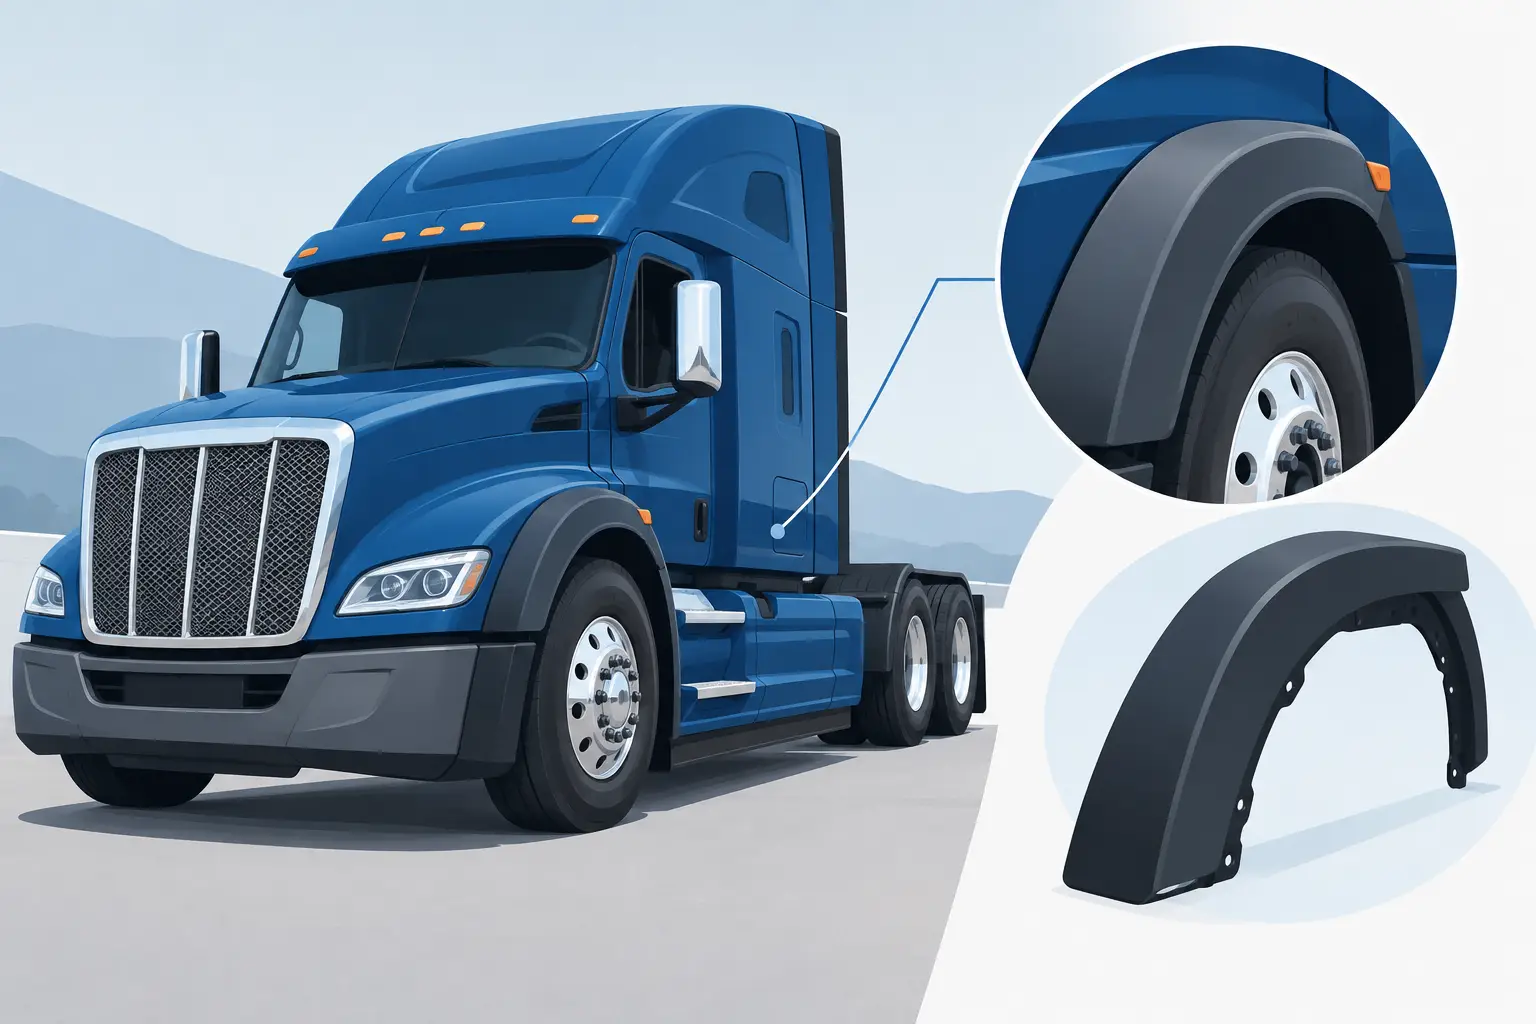
A cracked corner panel can keep an otherwise straightforward hood repair from going back into service. Fender extensions are often treated as a minor exterior part, but on a commercial truck they tie into the hood line, bumper area, lamp openings, inner structure, and wheel clearance. Ordering by make alone is not enough. The exact series, production range, hood configuration, and front-end design determine whether the replacement part will install correctly.
For body shops, fleet maintenance departments, and owner-operators, the goal is not simply to find a panel that looks close in a catalog photo. The goal is to restore the truck with a component that matches the existing front-end assembly, minimizes modification, and gets the unit back on the road without another parts delay.
What Fender Extensions Do on a Heavy Truck
A fender extension is the lower or forward continuation of the fender and hood-side bodywork, depending on the truck design. It finishes the transition around the front wheel opening and can meet the bumper, headlamp bezel, grille surround, or lower hood edge. On many conventional trucks, it is a visible part of the hood assembly. On other applications, it may be a separate bolt-on panel with its own mounting points.
That location makes the extension vulnerable in the same events that damage hoods and bumper corners: low-speed collision contact, tire debris, yard obstacles, curb strikes, and vibration-related fatigue. Fiberglass parts can also crack around fastener holes or mounting flanges after years of service, especially when adjacent brackets or supports have been bent.
A replacement extension affects more than appearance. Poor alignment can leave an uneven hood-to-bumper gap, interfere with a headlamp surround, rub during hood movement, or expose the front wheel area to unnecessary spray and debris. On fleet equipment, those details become repeat repair costs if they are not addressed during the initial repair.
Why Fender Extension Fitment Is More Specific Than It Looks
Truck manufacturers used similar model names over long production runs, while changing hood lengths, grille shapes, headlight arrangements, and front axle positions. Two trucks from the same manufacturer and general model family may use different fender extensions. A part can appear nearly identical and still have the wrong contour, lamp opening, bracket location, or wheel-arch position.
Hood style is usually the first fitment question. A short hood, mid-length hood, and long hood version of the same series can place the front wheel opening and lower front panel in different locations. The fender extension must follow the geometry of that specific hood. If the truck has an aftermarket replacement hood already installed, verify its design rather than relying only on the chassis year.
Headlamp configuration also matters. Changes from rectangular lamps to composite assemblies, or from one grille layout to another, can alter the forward edge of the extension. Some parts are side-specific, while others are built as matching left- and right-hand components. Do not assume an extension can be reversed just because the outer profile looks symmetrical.
Axle arrangement and cab configuration can create additional exceptions. Set-forward and set-back front axle trucks may have different wheel opening positions. Vocational equipment may have modified bumper systems, custom brackets, or added equipment that changes what will clear the lower panel. In these cases, photos and measurements are useful, but the truck’s original part number and configuration details remain the strongest starting point.
Confirm These Details Before Ordering
A complete part request prevents most incorrect orders. Gather the information before the damaged component is removed, if possible. The old part may show a molded number, supplier identifier, or mounting detail that is no longer visible once the front end is disassembled.
For a dependable fitment check, have the truck make, exact model or series, model year, and VIN available. Confirm the hood type and length, the headlight style, grille configuration, and whether the requested part is for the driver or passenger side. Note the front axle position when applicable. If the truck has a nonstandard bumper, replacement hood, custom intake, or prior collision repair, include that information as well.
Clear photos help resolve close applications. Take one photo straight on from the front, one from each front corner, one of the wheel opening, and one of the inside mounting area. A photo of the undamaged opposite side can be particularly useful when the damaged extension is missing pieces or has been heavily repaired.
Do not use paint color as a fitment identifier. Most replacement exterior components are supplied unfinished and require normal preparation, priming, and paint work. Color confirms the truck’s appearance, not the panel design.
Check the Mating Parts, Not Just the Broken Panel
Before ordering an extension, inspect the components around it. A damaged bumper bracket, hood hinge, headlamp bucket, grille surround, inner fender support, or lower mounting bracket can make a correct replacement part appear incorrect during installation. This is common after corner impacts, where the visible crack is only one part of the damage.
Check mounting holes for elongation and inspect fiberglass edges for hidden separation. On a hood-mounted extension, support the hood correctly and inspect hinge movement before final fitting. Forcing a panel into alignment against a bent support can put stress into the replacement part and lead to early cracking.
Repair or Replace: Make the Call Based on Structure
Minor surface damage can often be repaired when the panel is structurally sound. Small chips, shallow gouges, and limited gelcoat damage may be manageable through standard fiberglass repair and refinishing procedures. That approach can make sense when the part is still correctly aligned and replacement availability is limited.
Replacement is usually the better choice when the extension has separated at mounting points, has multiple cracks through structural areas, is distorted, or has prior repairs that are failing. A heavily patched part can consume labor quickly and may still not hold its shape near bolt holes or along a loaded edge. For shops controlling cycle time, a correctly matched replacement panel is often less costly than repeated repair work.
The decision also depends on what else is being replaced. When a hood, bumper, grille, or lamp assembly is already off the truck, replacing a compromised extension at the same time can prevent a second teardown. Conversely, if the truck is working and the damage is purely cosmetic, scheduling the repair with a larger planned service event may be more practical.
Installation Practices That Protect the New Part
Fiberglass fender extensions need proper support and reasonable fastener tension. Over-tightening can crush the material around mounting holes and start stress cracks. Under-tightening allows movement, which can do the same thing over time. Use the proper hardware, washers where required, and any original backing plates or reinforcement pieces that spread the load.
Test-fit the extension before paint whenever the repair process allows it. Install the hood, grille, headlamp components, and bumper-related pieces loosely enough to adjust them. Establish the panel gaps first, then tighten mounting hardware in sequence. This approach is faster than trying to correct a painted panel after discovering that a bent bracket is pulling one corner out of position.
Avoid using the extension to pull the rest of the front end into alignment. If the hood sits low, the bumper is pushed back, or the lamp opening does not line up, identify the supporting component causing the issue. The extension should complete the assembly, not carry the load of a misaligned assembly.
After final installation, cycle the hood fully and check tire clearance through the expected steering range. Verify that lamps, bezels, grille pieces, and lower trim fit without pressure against the panel. On working trucks, a short road check can reveal vibration or contact that is not obvious in the bay.
When the Catalog Details Do Not Match Your Truck
Older trucks, mixed-year repairs, and specialty applications do not always fit a clean catalog description. A truck may have a later-model hood on an earlier chassis, a discontinued OEM configuration, or an aftermarket front end with different mounting provisions. In those cases, ordering the closest year range is a gamble that can cost more downtime than the original damage.
Front Ends 4 Trucks works with commercial-truck exterior components across major makes and series, and direct parts support is useful when the visible application information does not settle the question. Provide the truck details, photos, and any numbers molded into the old panel so the fitment discussion starts with the actual configuration in the shop.
A fender extension is a small section of the truck’s exterior, but it sits at a busy intersection of hood, wheel opening, lighting, bumper, and grille fitment. Verify those adjoining details before placing the order, and the replacement has a much better chance of going from receiving dock to finished repair without losing another day.