

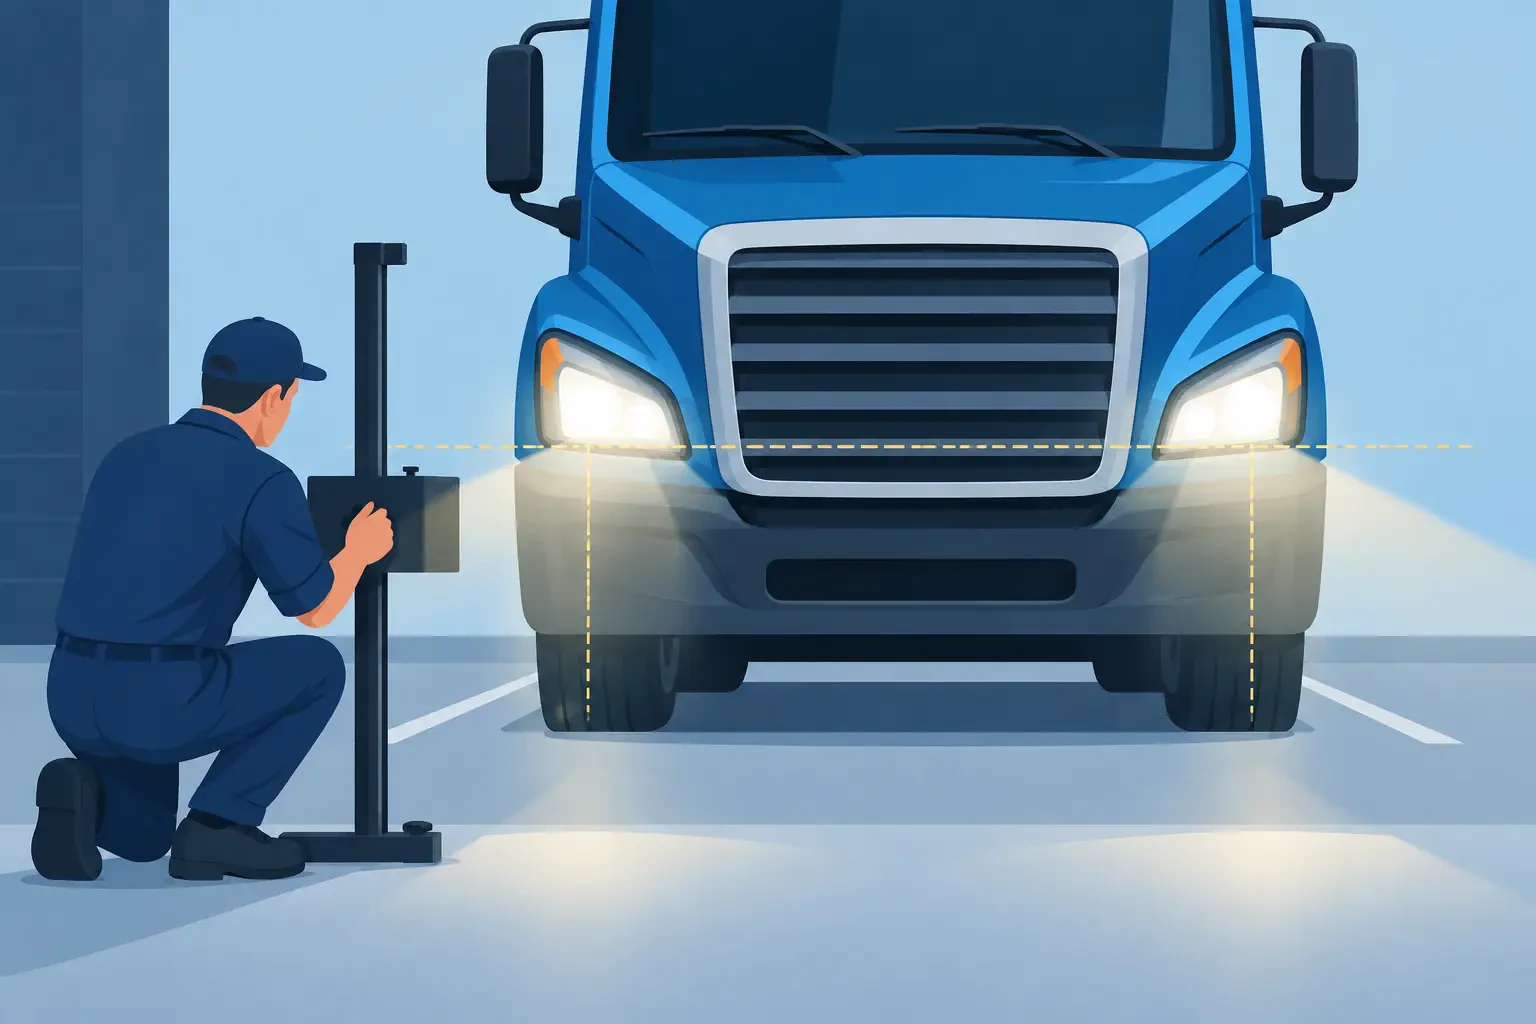
A replacement lamp can fit the hood and grille opening correctly yet still put light in the wrong place. To align semi truck headlights properly, start with a level setup, verify that the front-end parts are positioned correctly, and use the aiming procedure specified for that truck and lamp assembly. Skipping those checks can leave the driver with poor down-road visibility, create glare for oncoming traffic, and lead to a comeback after a collision repair.
Why Semi Truck Headlight Aim Cannot Be Treated as a Quick Adjustment
On a commercial truck, headlamp aim is tied to more than the adjuster screws. Hood alignment, headlamp mounting brackets, grille surrounds, bumper position, suspension height, tire size, and load condition can all affect where the beam lands. This is especially relevant after front-end damage, when a hood, fender extension, headlight bezel, or lamp assembly has been replaced.
A lamp that sits slightly twisted in its mounting pocket may appear acceptable during assembly. At night, that small error can move the cutoff or hot spot far enough to reduce usable light on the right shoulder or place excessive light into the opposing lane. On a tractor that sees highway miles, that is not a cosmetic issue.
The correct target and adjustment method depend on the headlamp design. Older sealed-beam systems, composite halogen assemblies, projector lamps, and LED headlight assemblies do not all use the same visual pattern. Use the truck manufacturer service information and the lamp manufacturer instructions when available. Do not assume a procedure from one Freightliner, Kenworth, Peterbilt, Volvo, Mack, International, or Western Star application transfers directly to another.
Inspect Fitment Before You Align Semi Truck Headlights
Headlight aim should be the final adjustment, not the first repair step. Before setting a target, inspect the installation from the back of the lamp forward. The headlight housing must be fully seated, all retainers installed, and the adjusters engaged correctly. A stripped adjuster, missing clip, cracked mounting tab, or bent support bracket will make a precise aim impossible to hold.
Check the surrounding front-end components as well. On many truck models, the hood, grille, grille surround, fender extension, and bumper establish the visual and physical relationship around the headlamp. If a replacement hood is not latched and adjusted correctly, the lamp opening may be under tension or the lamp may sit off-center. For tilt-hood applications, inspect the hinge area, latch engagement, and hood supports before blaming the lamp.
Fitment details matter. A truck series may use different headlamp assemblies based on model year, hood length, grille style, or headlight configuration. Confirm the part number against the actual truck, not only the badge on the hood. A similar-looking lamp with a different mounting pattern or beam design can create problems that no amount of aiming will correct.
Also inspect the truck at normal operating height. Uneven tire pressures, worn suspension components, damaged spring hardware, or an air-suspension issue can change lamp angle. If the tractor is sitting noticeably low or high on one side, correct that condition first.
Set Up the Truck and Aiming Area
A level floor and a flat vertical aiming surface are required for useful results. The wall or screen needs to be square to the truck. A sloped shop floor, a wall that is not perpendicular to the centerline, or a tractor parked at an angle will produce a false reading.
Prepare the truck in the condition specified by its service procedure. In general, that means normal tire inflation, fuel level appropriate to the procedure, an unloaded cab, and suspension at ride height. Remove unusual cargo or temporary weight that changes the front-end attitude. For fleet work, use the same setup every time so adjustments remain repeatable across similar units.
Clean the headlamp lenses before aiming. Dirt, road film, haze, and moisture can blur the beam pattern. If the lens is severely yellowed, cracked, or leaking, replace the assembly rather than trying to compensate with adjustment. A poor lens cannot be corrected at the wall.
Measure from the center of each headlamp to the floor and mark that height on the aiming surface. Mark the truck centerline, then mark the vertical centerline for each lamp. Back the truck away from the wall by the distance required by the truck or lamp aiming procedure. The correct distance is not universal, so follow the applicable specification instead of using a guessed measurement.
Make the Vertical and Horizontal Adjustments
Turn on the low beams and identify the beam pattern. Some lamps have a distinct horizontal cutoff; others use a brighter central hot spot. The manufacturer procedure will identify the reference point to use and where it should fall relative to the marks on the wall.
Adjust one lamp at a time if the beam patterns overlap. Locate the vertical and horizontal adjusters on the housing or mounting frame. Turn each adjuster in small increments, then allow the lamp to settle before rechecking the pattern. Do not force an adjuster to its stop. If the beam still will not reach specification, stop and inspect the housing, brackets, and component fit rather than forcing the mechanism.
Vertical aim usually has the greatest effect on glare and forward visibility. A lamp aimed too high can light signs and windshields instead of the roadway. A lamp aimed too low can shorten the driver’s usable view distance, particularly in rain or on unlit rural routes. Horizontal aim is equally important when the beam pattern is visibly shifted left or right, but it should be adjusted only to the applicable specification.
After low beams are correct, verify high-beam operation. High beams may not have an independent adjustment on every system, but they should produce a centered, consistent pattern if the housing is installed correctly. Confirm that both sides illuminate, the connectors are fully seated, and there is no flicker from a loose terminal or damaged harness.
Recheck the Repair After Road Testing
A wall aim is the controlled setup. A road test is the practical confirmation. Test the truck after dark in a safe area and evaluate beam distance, lane coverage, sign illumination, and whether either lamp appears noticeably higher, lower, or farther sideways than the other.
If the aim changes after opening and closing a tilt hood, recheck the hood latch, hinge hardware, and lamp mounting points. If a truck returns with a complaint that one light points down after a few days, inspect for a cracked adjuster seat or a missing retaining component. Re-aiming a loose assembly only treats the symptom.
For collision repairs, document the final headlamp position and any parts replaced around the lamp area. This helps the next technician identify whether a later problem comes from the headlight assembly, a damaged support, or a change in hood and front-end alignment.
Front Ends 4 Trucks works with the fitment details that affect this repair, including truck series, model years, hood configurations, grille styles, and headlamp arrangements. When replacing front-end components, verify the application before ordering so the lamp has the correct mounting relationship from the start.
A properly aimed headlamp begins with the correct parts and a stable installation. Take the extra time to inspect the housing, supports, hood position, and truck ride height before turning an adjuster. That is how a front-end repair stays repaired when the truck goes back to work.
 Spanish
  English