

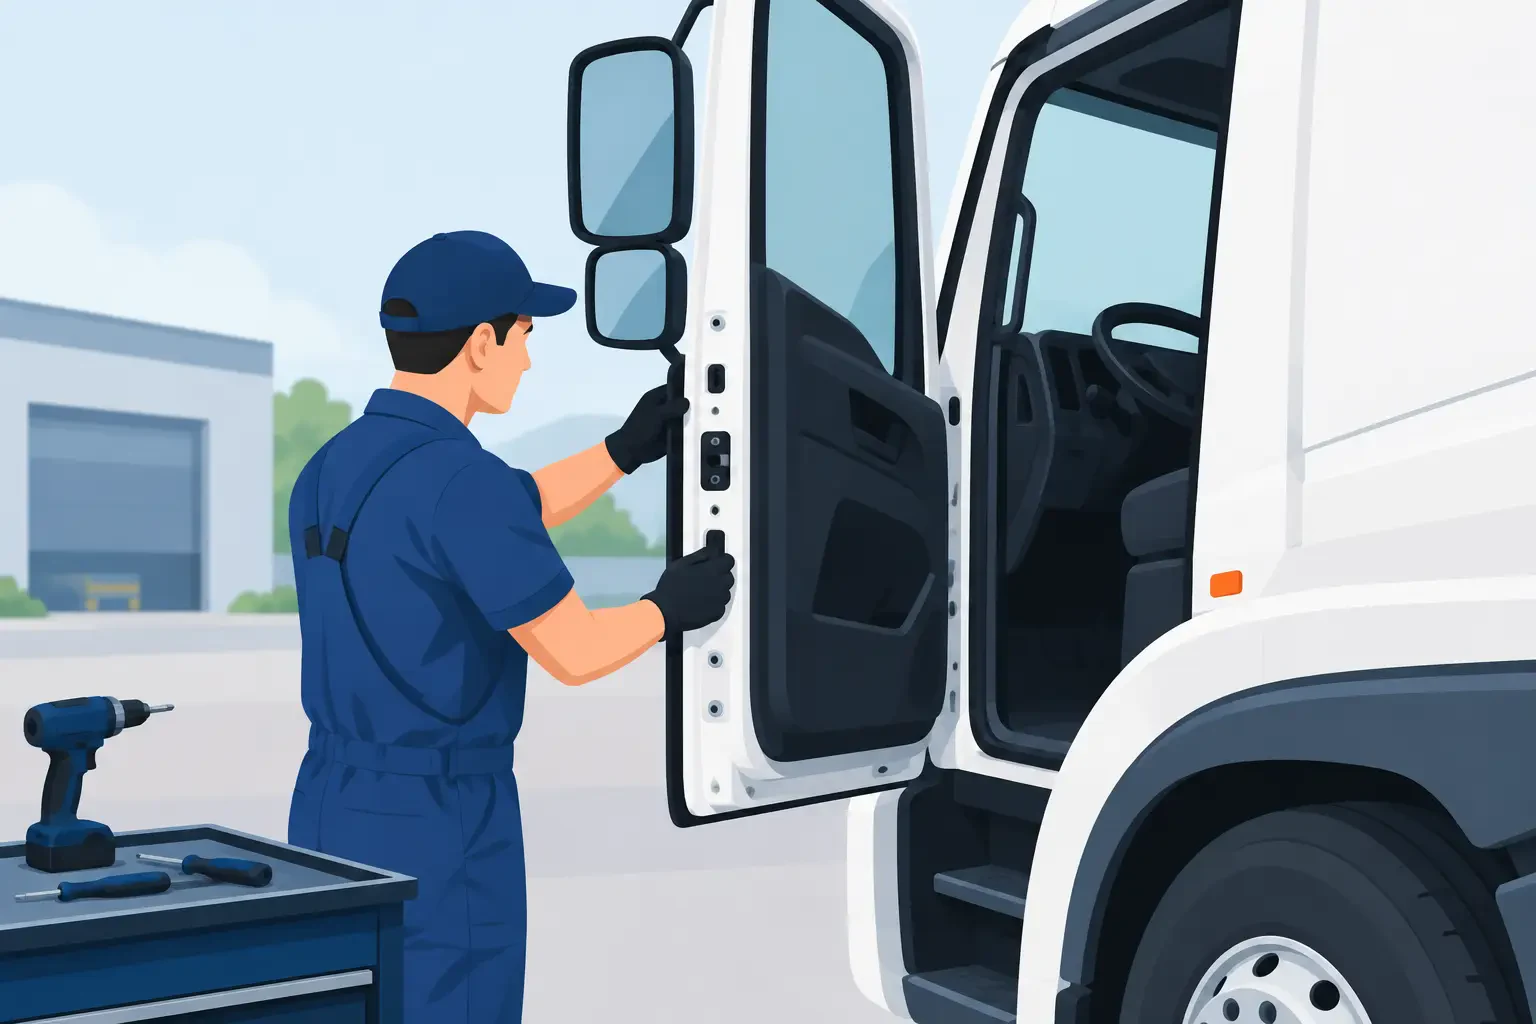
A replacement door can look correct on the floor and still create a bad repair if the hinge style, latch position, glass opening, mirror mounting, or cab application is wrong. Before you install a commercial truck door, confirm the truck make, series, model year, cab style, and whether you are replacing a complete assembly, a bare shell, or a door skin. On medium- and heavy-duty trucks, those details determine whether the door closes cleanly, seals against weather, and works with the existing hardware.
A proper installation is not just a matter of hanging a door and tightening bolts. Door alignment affects latch engagement, window operation, wind noise, water intrusion, mirror visibility, and the life of hinges and striker hardware. Taking measurements before removal saves time when the replacement door goes on.
Confirm Fitment Before You Install a Commercial Truck Door
Start with the truck identification information and inspect the damaged door in place. Record the manufacturer, model, production year, cab configuration, and driver or passenger side. For example, a day cab and a sleeper cab within the same truck series may use different door assemblies, glass, trim, wiring lengths, or mirror provisions.
Compare the replacement component against the original before disassembly. Check the hinge locations and bolt patterns, latch opening, striker relationship, window frame profile, handle cutouts, mirror holes, interior panel mounting points, and any openings for manual or power accessories. If the door has a lower step, exterior grab handle, vent window, or integrated wiring pass-through, verify those details as well.
A bare replacement shell requires the most planning. You may need to transfer the hinges, latch, outside handle, inside handle, lock cylinder, glass, regulator, weatherstrip, mirror, wiring harness, speakers, trim panel, and door check. A complete door can reduce labor, but only if its equipment level matches the truck. A power-window door assembly is not automatically a direct replacement for a manual-window application.
Do not rely on appearance alone. Model changes can occur within a production run, and a similar cab can have different hinge designs or electrical connectors. If the available catalog information does not resolve the application, have the VIN, truck configuration, measurements, and photos of the existing door hardware ready before ordering.
Prepare the Truck and Work Area
Park the truck on level ground and support it so the cab is stable. Leave enough room to open the door fully and move a door stand or lifting cart alongside the truck. A commercial truck door is bulky and can be heavy, particularly when glass, regulators, mirrors, and interior hardware remain installed. Do not attempt to hold it in place by hand while starting hinge bolts.
Disconnect the battery if the door includes powered locks, power windows, heated mirrors, marker lights, or other electrical circuits. This prevents accidental shorts while connectors are separated and avoids damage to modules on newer trucks.
The basic equipment should include the following:
- A door jack, lifting cart, or adjustable support stand
- Correct sockets, wrenches, and torque tools
- Trim tools and clips for interior-panel removal
- Painter’s tape or a paint marker for reference lines
- Penetrating lubricant for corroded hardware
- A helper for handling the door and checking gaps
Protect the cab corner, fender edge, and replacement door finish with masking tape or protective covers. A clean work area matters. A loose bolt, hinge shim, or wiring clip can turn into an avoidable delay once the door is off the truck.
Remove the Existing Door Without Losing Reference Points
Open the old door and inspect its fit before removing it. Note the gap at the A-pillar, roof line, rocker area, and rear cab edge. Check whether the top of the door sits flush with the cab or is recessed. Make a few reference marks around the hinge plates before loosening the bolts. These marks are starting points, not final alignment settings, but they can shorten setup time.
Remove the interior trim panel carefully if hardware will be transferred. Disconnect electrical connectors by their locking tabs, not by pulling on wires. Route the harness out through the door opening and label connectors when there is more than one plug. Disconnect the door check or limiter after the door is supported.
Support the door from below with a padded stand. If the hinges bolt to the door, remove those bolts while keeping the hinge-to-cab setting intact when possible. If the hinge bolts at the cab side, preserve the cab-side alignment marks. On older equipment, expect rusted bolts and seized hinge pins. Use controlled force and the correct tool rather than damaging the cab pillar or deforming the hinge.
Once the door is removed, inspect the hinge plates, bolts, shims, door check, wiring boot, striker, and latch. Reusing worn parts on a newly aligned door can create a repeat repair. A loose hinge pin, cracked door check mount, or damaged striker can make a good replacement door appear to fit poorly.
Transfer Components Before Hanging a Bare Door
If you are working with a bare shell, transfer components on a padded bench before the door is installed whenever practical. Install the latch and handles first, then the regulator, glass, weatherstrip, wiring, mirror, and interior hardware according to the truck’s design. This approach gives better access and reduces the chance of scratching the cab during assembly.
Inspect the window run channels and beltline weatherstrip before reuse. Hardened or torn seals cause glass rattle and water leaks. Check the latch for smooth movement and verify that the exterior and interior handles release it fully. If the lock cylinder or electronic lock actuator was damaged in the collision, address it now rather than after the trim panel is back on.
Use the original fasteners when they are serviceable and match the replacement shell. Do not substitute bolts that are too long near the glass track, wiring harness, or latch area. Tighten hardware to the truck manufacturer’s specified torque where available. Over-tightening can strip captive nuts or distort thin door structure.
Hang and Align the Replacement Door
Set the replacement door on the support stand and bring it into position with a helper. Start all hinge bolts loosely. The door must be able to move slightly for adjustment, but it must remain securely supported throughout the process.
Close the door slowly until it nearly contacts the striker. Check the body gaps before making latch adjustments. The top edge should follow the cab roof line, the front edge should clear the A-pillar evenly, and the lower edge should sit at the correct height relative to the rocker or step. A door that is low at the rear often needs hinge adjustment, not striker adjustment.
Adjust at the hinges first. Move the door up, down, in, or out in small increments, then tighten enough to test again. The goal is an even gap and a flush exterior surface. On some applications, hinge shims or slotted mounting holes provide the needed range. If the door reaches the end of adjustment before the gaps are correct, stop and inspect for a bent hinge, damaged cab pillar, incorrect shell, or collision damage that was not repaired.
After hinge alignment, set the striker. The latch should engage without lifting, dropping, or slamming the door. A properly adjusted striker allows the door to close with firm, controlled pressure and holds the door flush to the cab. If the latch clicks but the rear edge remains proud, the striker may need to move inward. If the door must be lifted to latch, correct the hinge position first.
Test Function Before Final Assembly
Reconnect electrical connectors and the battery after the door is aligned. Test the power window through its full travel, along with locks, speakers, mirror functions, lights, and any door-mounted switches. Make sure the wiring harness does not pinch at the hinge area and that the rubber boot seats fully at both ends.
Check the glass alignment with the window raised. It should enter the upper weatherstrip evenly and seal without excessive force. Inspect the door seal around the full perimeter. A flattened, folded, or missing section can cause water intrusion and highway wind noise even when the door gaps look correct.
Open and close the door repeatedly, then road-test the truck if the repair scope allows. Listen for rattles and air noise. Recheck hinge and striker bolts after initial cycling, especially on a heavy door with transferred mirrors and hardware. Install the interior panel only after all electrical and mechanical functions are confirmed.
When Fitment Needs a Second Look
If a replacement door will not align despite normal hinge adjustment, do not force the latch or elongate mounting holes without identifying the cause. Common issues include an incorrect year range, the wrong cab application, bent hinges, a shifted cab corner, mismatched door hardware, or a shell intended for a different mirror or window configuration.
For fleet and repair operations, documenting the original application before ordering is the best defense against downtime. Front Ends 4 Trucks focuses on commercial exterior components where those configuration details matter. Have the truck’s exact model information and the physical features of the original door available so the replacement can be matched to the job, not just the badge on the grille.
A door that closes smoothly, sits flush, seals the cab, and operates every accessory is the standard to work toward. Take the extra time at the hinge and striker stage, because that is where a replacement door becomes a finished repair.
 English
  Spanish