

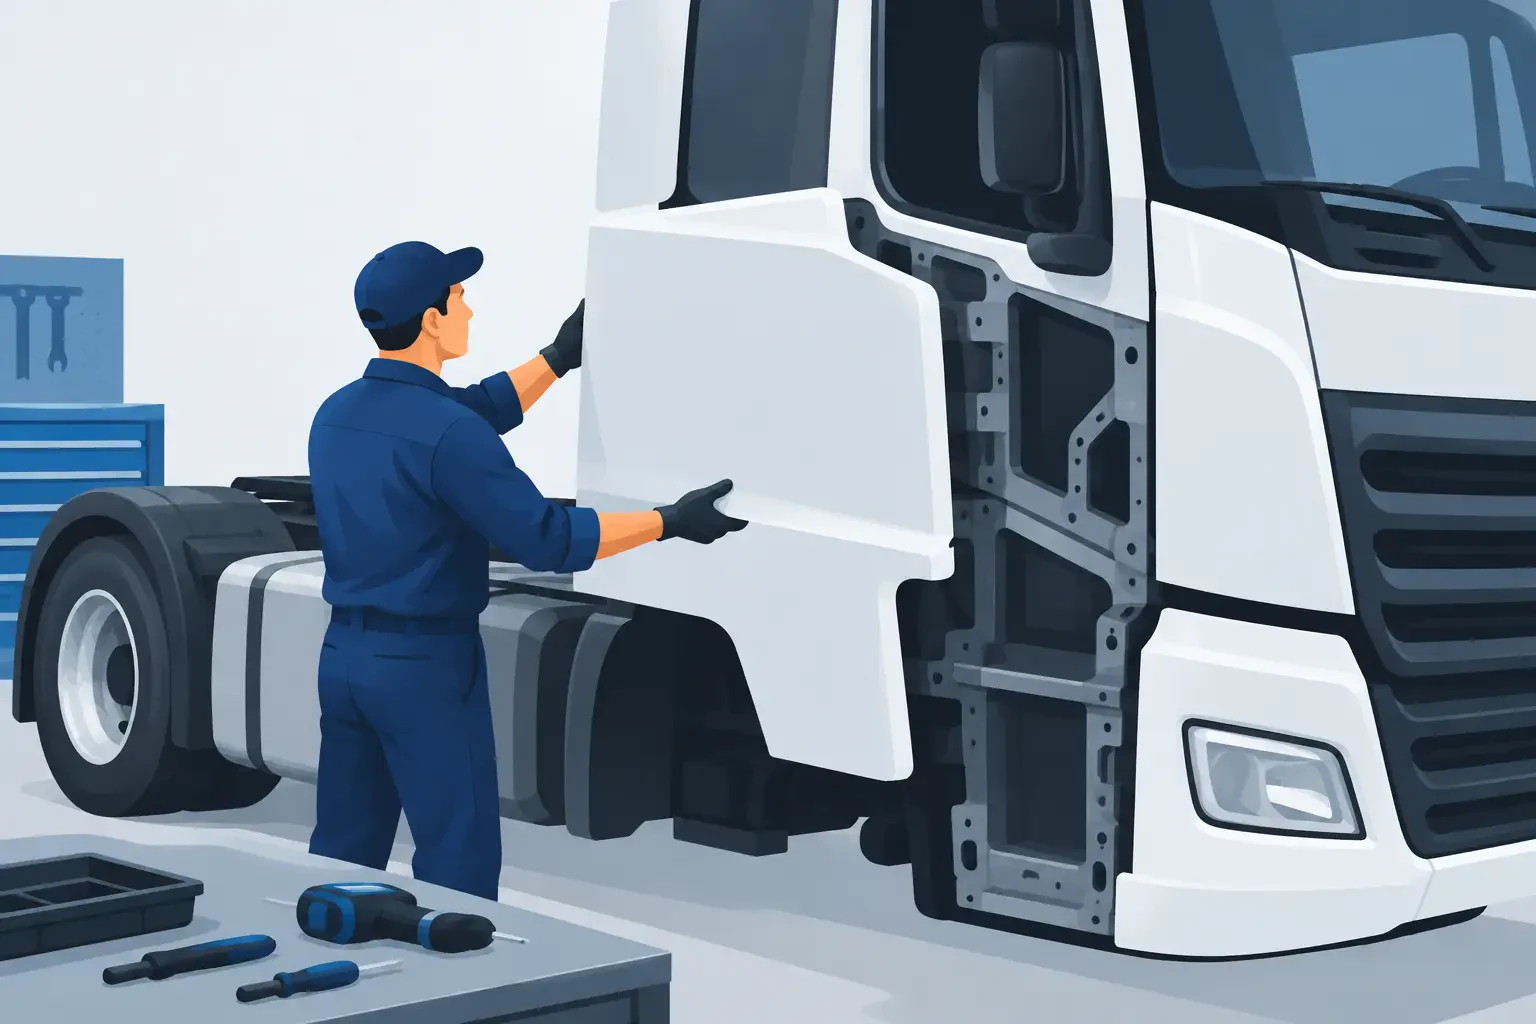
A cab corner, back panel, door shell, step panel, or roof fairing can look like a straightforward replacement until the new part reaches the shop. To fit replacement truck cab panels correctly, the order has to start with the exact truck configuration, not just the make and model badge. Model year, cab style, sleeper arrangement, hood design, intake location, and nearby trim can all change the panel required.
For a collision center or fleet shop, a wrong panel does more than create a return. It ties up a repair bay, delays paint work, and keeps a revenue-producing truck out of service. The best way to avoid that result is to identify the damaged panel as part of a complete cab assembly.
Start With the Truck Configuration, Not the Damaged Part
“Freightliner Cascadia cab panel” or “Peterbilt door” is rarely enough information to order from. Truck manufacturers often make running changes within the same series, and vocational applications can differ from linehaul configurations. A panel may also look correct from the outside while using different mounting locations, reinforcements, lamp openings, or trim provisions.
Confirm the truck make, series, model year, and VIN before searching. Then document the cab style: day cab, mid-roof sleeper, high-roof sleeper, or crew cab where applicable. Record whether the truck has a factory fairing package, cab-mounted air cleaner, battery box arrangement, side steps, or sleeper extensions. These details matter because adjacent components often establish the panel shape and attachment points.
For front cab-related parts, identify the hood length and headlamp configuration as well. On many heavy-duty trucks, changes to the hood, grille, bumper, and fender assembly affect the panels and extensions that meet the cab. A part that matches the paint line may still leave a gap at the hood edge or interfere with a step, fairing, or door opening.
Photos help, but take them with purpose. Capture the full damaged area, the inside mounting surface, the adjoining panel edges, fastener locations, and any part number molded or stamped into the original component. A clear photo of the truck from each side and the front can resolve fitment questions that a single close-up cannot.
Identify What the Panel Actually Does
Cab exterior parts serve different purposes. Some are cosmetic covers. Others carry hinges, support steps, protect wiring, seal the cab, or tie into a fairing system. Treating all panels as interchangeable body pieces is where repairs go sideways.
A door shell, for example, may require transfer of glass, regulators, latches, wiring, mirrors, weatherstripping, trim, and interior hardware. The shell must match the hinge side, window frame design, mirror mounting pattern, and latch location. Before ordering, determine whether the repair calls for a bare shell, a complete door assembly, or only an outer skin.
Cab corners and back panels require a different assessment. Look beyond the visible crush or corrosion. Inspect the inner structure, cab mounts, seam areas, and attachment flanges. If the structural metal behind a fiberglass or outer panel is bent, a new exterior component will not correct the alignment by itself. Repair or straighten the support structure first, then verify the replacement panel against the opening.
Steps, step panels, and lower cab extensions also deserve a close look. They take road spray, vibration, and frequent foot traffic. A damaged step can pull on its brackets or distort the panel above it. Replace worn hardware and cracked supports at the same time when needed. Reusing bent brackets to force a new part into position usually creates uneven gaps and early fatigue.
Check Material and Finish Requirements
Replacement truck cab panels may be fiberglass, steel, aluminum, composite, or molded plastic, depending on the truck and component. Material affects handling, repair procedures, mounting methods, and paint preparation.
Fiberglass panels are common in commercial truck body repairs because they resist rust and can provide a practical replacement option for aging equipment. Their fit depends heavily on proper support and careful fastening. Do not overtighten fasteners or pull a fiberglass edge into a distorted cab opening. Test-fit the panel, establish an even gap, and use the intended mounting points. Excess stress around a bolt hole can lead to cracking after the truck returns to service.
Steel and aluminum parts have their own trade-offs. Steel can require corrosion protection at cut edges, seams, and repaired areas. Aluminum needs compatible repair materials and isolation from dissimilar metals where required. Plastic trim or fairing pieces may use clips, retainers, and specific hardware that should be replaced if damaged or missing.
Most replacement exterior panels require finish preparation before paint. Check the product details for gelcoat, primer, surface condition, and any required sanding or prep work. The paint department should inspect the part before color is mixed and before final installation. This is the time to catch pinholes, shipping damage, or a mismatch in a lamp or trim opening.
Test-Fit Replacement Truck Cab Panels Before Paint
A dry fit is not optional on a commercial truck repair. Mount the panel loosely with the correct fasteners and check its relationship to the door, hood, fender, windshield surround, step, fairing, and sleeper section. Verify that the door opens fully, steps are stable, lamps sit correctly, and no panel edge rubs during cab movement or hood tilt.
Use the original undamaged side of the truck as a reference when possible. Compare body lines, fastener spacing, gap width, and trim height. On a truck with collision damage, do not assume the remaining side is perfect, but it still provides a useful baseline.
If a panel needs minor adjustment, work from the mounting structure outward. Slot adjustment, shims, replacement clips, and corrected brackets can often restore the intended position. Avoid trimming a panel or drilling new holes until the fitment has been confirmed against the correct application. Once a panel is modified, it may be harder to return and more difficult to diagnose if another component is actually causing the problem.
Order the Related Components Before the Truck Is Apart
Cab panel repairs frequently expose additional needs. A cracked fairing can hide broken brackets. A damaged door can reveal worn hinges or a missing mirror support. Removing an older cab extension may show that retainers, seals, insulation, lamps, or wiring clips are no longer serviceable.
Review the repair as an assembly before placing the order. Include required mounting hardware, seals, lamps, trim, brackets, steps, and adjacent panels where damage or age makes replacement sensible. This does not mean replacing every nearby part. It means avoiding a situation where a truck sits in a bay waiting on a low-cost clip, seal, or bracket that was visible from the start.
For fleet maintenance work, it can be practical to standardize common repair hardware for the truck models in service. Keep records of recurring cab corner, step, door, and fairing repairs by unit type. That history helps identify parts worth stocking and applications where corrosion, vibration, or operational use repeatedly affects the same area.
Use Fitment Notes as Installation Planning
Fitment notes are not sales copy. They are the difference between an order that installs and one that creates more work. When a listing specifies a certain production range, grille style, headlamp arrangement, hood length, or cab configuration, compare that detail directly to the truck in the shop.
Pay close attention to exclusions. A panel may fit a series only with a particular headlight style, axle setup, or sleeper package. “Does not fit” information is often more valuable than a broad model-year range because it identifies the visual or structural difference that can stop an installation.
When the catalog does not settle the application, have the identifying information ready before calling: VIN, model year, truck series, cab style, photos, original part number if available, and a description of adjoining components. Front Ends 4 Trucks can help narrow down specialized commercial-truck exterior applications when the visible damage or configuration makes the correct part unclear.
A replacement cab panel should finish the repair, not start a second one. Verify the truck, inspect the surrounding assembly, dry-fit before paint, and order the hardware that supports the installation. Those few checks keep the job moving and put the truck back to work with panels that line up, fasten correctly, and hold up on the road.
 English
  Spanish