

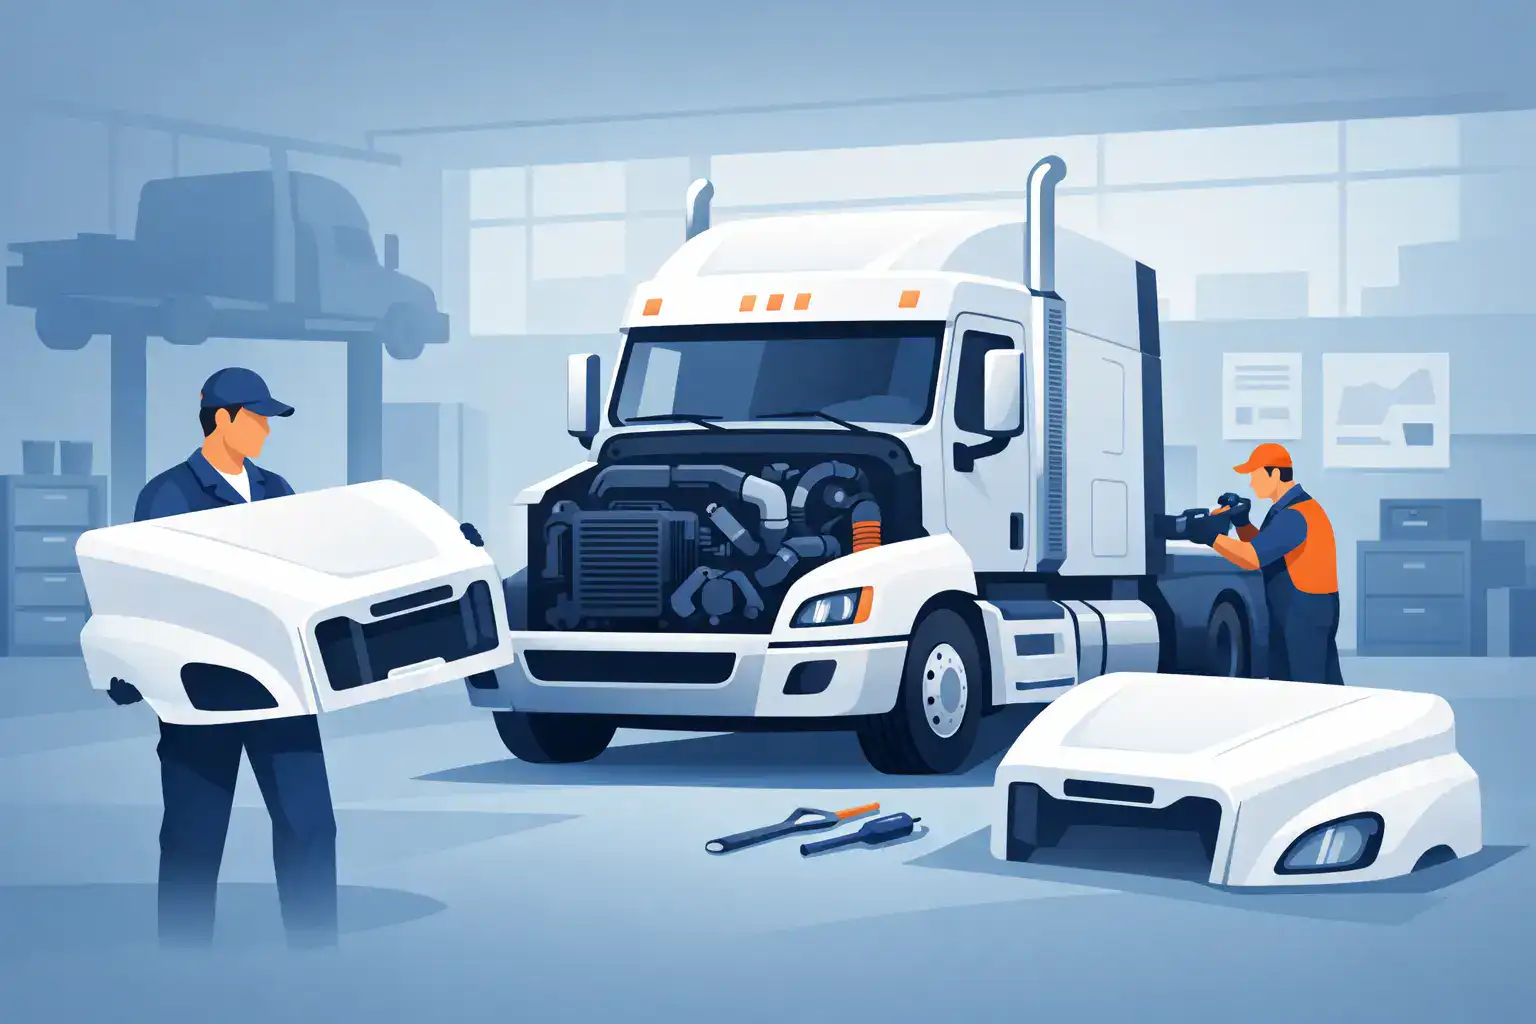
A hood replacement can look straightforward until a collision center has a Freightliner sitting in a bay with damaged front-end panels, a deadline, and incomplete vehicle information. This Freightliner hood replacement case study follows a typical heavy-duty repair situation: a truck needs a replacement hood, but the correct part depends on more than the badge on the grille.
The repair goal was to return the truck to service without creating a second round of labor for mismatched headlights, grille openings, hinges, or fender extensions. The deciding factor was not simply finding a Freightliner hood. It was identifying the exact hood configuration before the order was placed.
The Repair Situation
The truck arrived after a front-end impact that damaged the hood shell, grille area, one headlamp assembly, and adjacent mounting hardware. The hood could not be economically repaired. Stress cracking around the front opening and damage near the hinge area made replacement the practical option.
The shop’s first description was broad: a Freightliner conventional truck with a fiberglass hood. That is a starting point, not an order-ready fitment description. Freightliner conventional models can differ by production year, hood length, headlight style, grille design, intake arrangement, and axle position. A hood that looks close in a photo can still create major installation problems.
Downtime mattered. The unit was a working commercial truck, so the shop needed to balance lead time, price, and fitment confidence. Ordering a lower-priced hood that required fabrication or had to be returned would not reduce the real repair cost.
What Had to Be Verified Before Ordering
The shop collected details from the truck before selecting a replacement. The vehicle identification number helped establish the model family and production range, but visual confirmation was still necessary. Front-end parts are often changed during prior repairs, and model-year references alone do not always account for a truck’s current configuration.
The fitment review focused on the hood’s overall profile and length, the shape of the grille opening, the headlight opening layout, and the hinge and latch mounting areas. The team also checked whether the truck used matching fender extensions and whether the hood design incorporated air-intake openings or related trim.
This information separated the correct application from similar-looking alternatives. On a conventional Freightliner, a difference in headlamp arrangement or grille surround can affect the hood opening, mounting points, and the components that transfer over from the damaged assembly.
Why a Model Name Was Not Enough
A model name narrows the search, but it does not finish it. Freightliner series can span multiple front-end designs. Production changes may affect lighting, grille shape, hood length, or hardware placement. A truck may also have a set-back or set-forward axle configuration that changes the front-end relationship.
For a collision repair shop, the practical question is not, “Will this hood fit a Freightliner?” It is, “Will this hood fit this truck with this grille, these headlights, these extensions, and this mounting layout?” That level of confirmation protects the estimate and the delivery date.
The Replacement Decision
Once the configuration was confirmed, the shop selected an aftermarket fiberglass replacement hood matched to the truck’s specific application. Fiberglass was appropriate because the original hood was beyond practical repair and the replacement needed to restore the truck’s exterior structure without relying on extensive patching.
The hood was treated as part of a front-end assembly, not as an isolated panel. The repair plan included inspection of the grille, grille surround, headlamps, fender extensions, bumper, hood hinges, latch hardware, and mounting brackets. Some parts were reusable; others had damage that was not clear until the hood was removed.
That inspection step matters because hidden damage often shows up at the mounting points. A replacement hood cannot compensate for bent hinges, shifted brackets, or a damaged latch support. If those components are not checked, the installer may spend time forcing alignment that will not hold once the truck returns to service.
Installation and Alignment
The shop dry-fitted the hood before final finish work. This allowed the technicians to evaluate hinge engagement, rear hood-to-cab spacing, grille fit, headlamp position, and latch operation while adjustments were still accessible.
The first focus was structural alignment. The hood had to sit correctly at the hinges and close at the latch without excessive force. After that, the team set the side gaps against the fender extensions and checked the relationship between the grille opening and the surrounding components. Headlights were installed and aimed only after the hood position was stable.
The repair did require normal fitting time. Fiberglass replacement components are designed for the stated application, but professional installation still involves adjustment. Paint thickness, reused hardware condition, prior collision repairs, and variations in adjacent panels can all affect final alignment. The right hood reduces unnecessary modification; it does not eliminate the need for competent body and mechanical work.
Parts That Were Checked Alongside the Hood
The hood replacement created an opportunity to inspect components that commonly affect front-end fit. The shop reviewed the hinge assemblies, hood latch, latch support, grille and grille surround, headlamp buckets, bumper brackets, fender extensions, and mounting hardware. Replacing damaged support parts at the same time prevented the new hood from being installed against compromised structure.
This approach also helped the shop avoid a common problem: finishing and painting a hood before confirming that all transferred components fit properly. A dry fit can reveal a cracked grille surround, distorted extension, or damaged headlamp mount before the truck reaches the final assembly stage.
Results: Less Rework, Better Cost Control
The truck returned to service with a properly matched hood and aligned front-end components. The benefit was not just the replacement panel. The repair avoided the extra labor associated with modifying an incorrect hood, repainting after a fitment failure, or waiting for another part after discovering a configuration mismatch.
For the shop, the case reinforced a simple operating rule: fitment verification belongs at the estimate and ordering stage. The time spent documenting the truck’s hood configuration was small compared with the time and freight expense tied to a wrong part.
For the fleet or owner-operator, the result was more predictable downtime. A correct replacement hood supported a cleaner repair process, helped preserve the appearance of the truck, and reduced the chance of front-end issues caused by poor panel alignment or damaged mounting hardware.
What This Freightliner Hood Replacement Case Study Shows
The main lesson from this Freightliner hood replacement case study is that exact identification drives the repair. Before ordering, verify the model series, production range, hood length, grille configuration, headlight arrangement, axle position where applicable, and all visible fitment details. Photos of the damaged truck from the front, both sides, and hinge area are often useful when comparing applications.
It also pays to identify what will transfer from the old hood and what should be replaced with it. If the grille, lights, extensions, hinges, or latch components are questionable, include them in the inspection before the replacement hood is committed to finish work.
Front Ends 4 Trucks focuses on the details that separate a workable truck-body order from a costly mismatch. When the catalog does not resolve an uncommon configuration, direct parts support can help verify the application before the truck occupies more bay time.
A damaged hood is visible, but the real repair decision is made in the measurements, mounting points, and configuration details behind it. Get those details right first, and the replacement has a much better chance of fitting the truck, the repair schedule, and the budget.
 English
  Spanish