

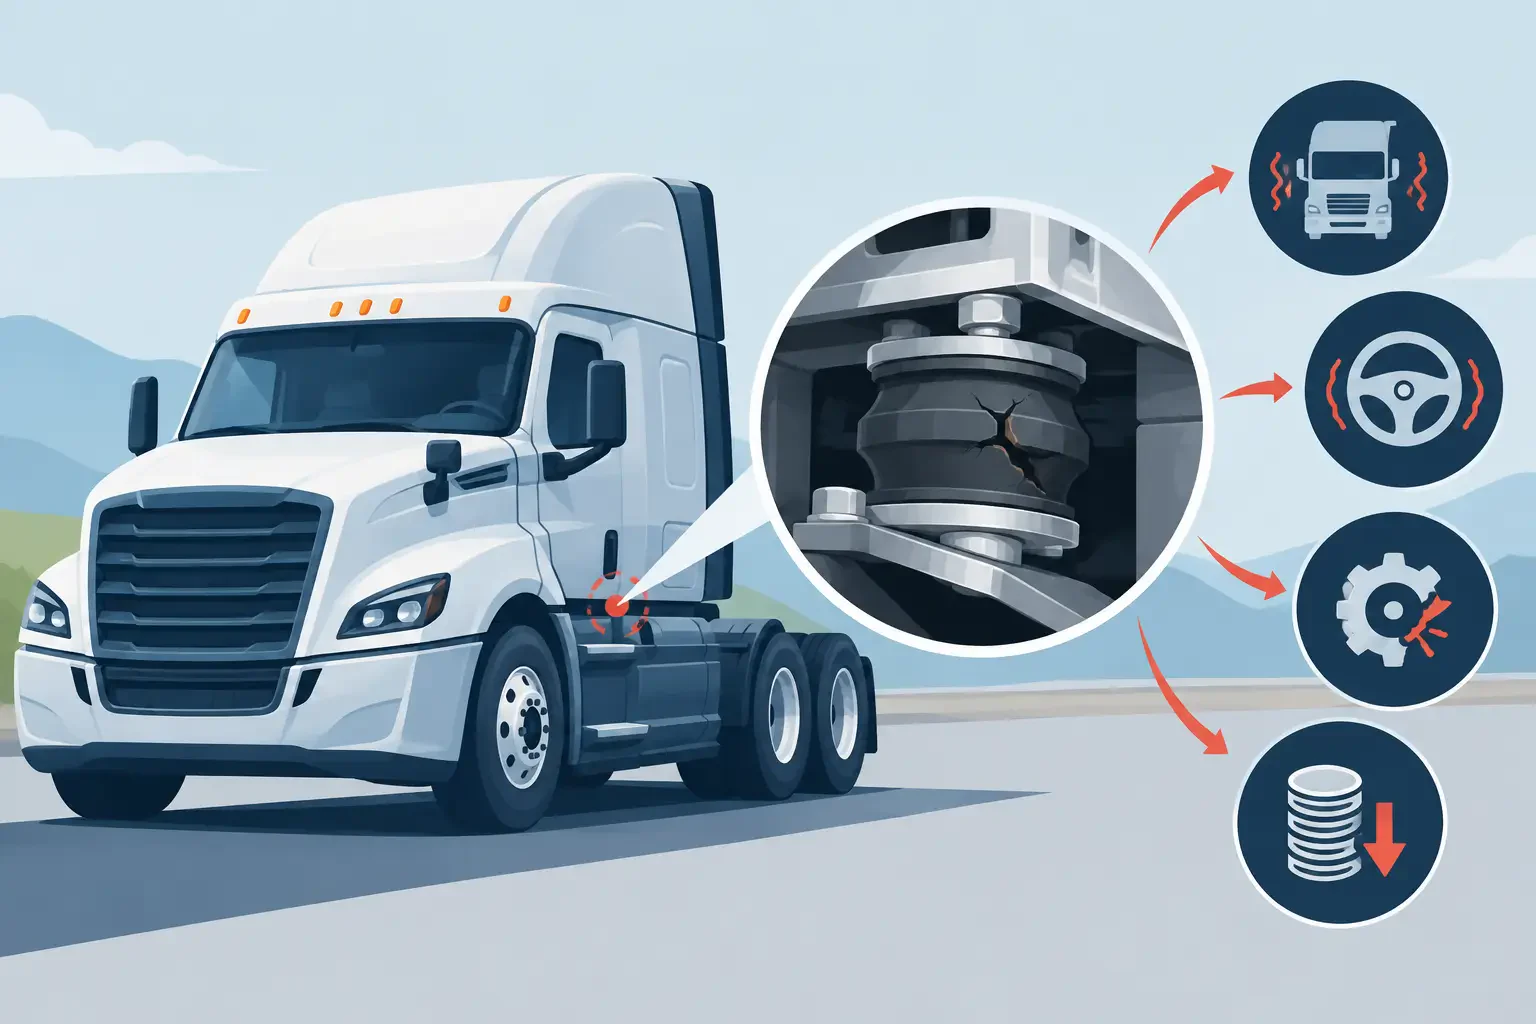
A cab that shifts over bumps is not just a ride-quality complaint. On a working truck, excess cab movement can change panel gaps, stress wiring and hoses, create steering-column bind, and put repeated load into hoods, fenders, steps, and other exterior components. Understanding why truck cab mounts fail helps a shop correct the cause before replacing body parts that will be damaged again.
Cab mounts sit between the cab and frame, typically using rubber or elastomer isolators, sleeves, bolts, washers, brackets, and sometimes hydraulic or air-assisted designs. Their job is to control cab movement while isolating noise and vibration. They work under constant load, heat cycles, road shock, torsional frame flex, and exposure to water, salt, oil, and debris. Failure is usually gradual, but the effects can become obvious fast once the mount loses height or the hardware loosens.
Why Truck Cab Mounts Fail in Service
The most common failure is simple material breakdown. Rubber hardens with age, develops cracks, separates from bonded metal sleeves, or compresses until it no longer holds the cab at the intended height. On a high-mileage fleet truck, the mount may look intact from the side while being badly crushed internally. That loss of support lets the cab settle and move farther than the factory design allows.
Oil and fuel contamination speed up the process. A chronic engine-oil leak, power steering leak, fuel spill, or hydraulic-fluid leak can soften certain rubber compounds and attract grit. Road chemicals, especially in northern service areas, work into cracks and corrode the mount hardware, frame crossmembers, and cab brackets. A mount can be serviceable while the bolt sleeve, retaining washer, or bracket around it is no longer sound.
Heavy operating conditions matter as much as mileage. Vocational trucks, refuse units, construction trucks, and tractors running poor roads see sharper impacts and more frequent frame twist than highway equipment. A cab mount that may last for years in long-haul service can fatigue earlier when the truck is loaded, off-road, curb-hopping, or operating in stop-and-go work.
Collision damage is another frequent cause. A front-end strike, underride event, curb impact, or improperly handled recovery can distort a cab support, crossmember, or mount bracket. The truck may be drivable after a cosmetic repair, but a cab that is no longer centered or level will load the mounts unevenly. That uneven loading often becomes a repeat failure.
Poor prior repairs also deserve attention. Reusing stretched bolts, installing incorrect washers, overtightening a mount, or mixing mount positions can create problems from day one. Cab mounts are not universal rubber biscuits. Their height, sleeve diameter, offset, and load rating can vary by make, series, cab configuration, and mount location.
Symptoms That Point to Cab Mount Problems
A failed mount does not always announce itself with one clear noise. Shops often see the result first: a door that needs extra force to latch, a hood-to-cab gap that changes from one side to the other, or a step that contacts differently after the truck has been driven. The cab may rock, clunk over rough ground, or feel loose during braking and acceleration.
Watch for vibration that has changed character. A mount that has collapsed can transmit engine and road vibration into the cab, while a loose mount may create a dull knock as the cab shifts against a bracket or limiter. Drivers may also report steering-column movement, dash squeaks, floor-panel noise, or a seat that feels slightly out of position.
On conventional models, cab movement can affect the relationship between the cab and hood. The hood hinges, rear hood supports, grille surround, fenders, headlamp assemblies, and hood extensions all depend on correct structural alignment. A worn cab mount does not automatically mean those parts are bad, but it can cause rubbing, cracked fiberglass, broken mounting tabs, and gaps that will not stay adjusted.
For cabover and medium-duty applications, look closely at the cab tilt system and surrounding hardware. A damaged latch, hinge, pivot, or tilt stop can mimic a mount issue. The repair starts with identifying what is actually allowing the cab to move.
Inspect the Whole Mounting System
Do not diagnose cab mounts from a quick visual check alone. Park the truck on level ground, secure it properly, and compare cab height and gap measurements from side to side. Look for compressed rubber, torn bonding, displaced sleeves, shiny witness marks, missing isolators, and contact between metal components that should remain separated.
Then inspect the supporting structure. Check cab brackets, frame brackets, crossmembers, bolt holes, welds, and fastener condition. Rust around a bracket is not automatically cosmetic. Corrosion can thin the metal, enlarge a bolt hole, or let the bracket flex under load. If a mount bolt is loose, determine why before tightening it. A loose bolt may be the result of a collapsed bushing, a damaged sleeve, stripped threads, or a bracket that has moved.
Use controlled movement to confirm the condition. With proper safety procedures and the correct lifting equipment, a technician can lightly support or raise the cab to observe separation, bracket movement, and mount travel. Avoid lifting in a way that loads the hood, fenders, radiator support, or other body components. If the cab is shifted, take measurements before disassembly so the replacement can be aligned correctly.
Inspect related systems while access is available. Wiring harnesses, battery cables, air lines, heater hoses, exhaust connections, and steering-shaft joints may have been pulled or rubbed by cab movement. A repair that replaces only the visible mount but misses a chafed cable or stretched hose can still put the truck back into service with a preventable failure waiting.
Repair Decisions: Replace One Mount or the Set?
It depends on the truck’s age, service history, and the reason the original mount failed. If one mount was damaged in a specific collision and the remaining mounts measure correctly, a targeted repair may be reasonable. If the rubber is aged, compressed, or contaminated across the truck, replacing mounts as a set is usually the better labor decision. The cab must be supported and positioned either way, so repeating that work later is expensive.
Replace damaged bolts, sleeves, washers, and brackets as needed. Do not assume old hardware is acceptable because it threads back in. Fasteners and retaining components must match the application and be installed to the vehicle manufacturer’s specified sequence and torque. Over-compressing a rubber mount can shorten its life and defeat its isolation function.
After installation, verify cab height, door operation, hood clearance, and body-panel alignment before finalizing the job. If the truck has a fiberglass hood or replacement front-end panels, check fitment with the cab in its normal loaded position. Adjusting a hood around a sagging cab may make it look right in the bay and wrong once the mounts are repaired.
Protect Exterior Repairs From Repeat Damage
Cab mount condition should be part of the estimate whenever a truck comes in for collision work or repeated front-end repairs. Cracked hood corners, broken fender mounts, worn hood bumpers, and unexplained grille or headlamp misalignment may be symptoms of cab movement rather than isolated parts failures.
That matters when sourcing replacement components. Hood length, headlamp layout, grille style, axle position, cab style, and model year all affect correct front-end fitment. But even an exact-fit replacement part cannot compensate for a cab sitting low, crooked, or loose on the frame. Establish the cab’s structural position first, then measure and order the exterior components needed to complete the repair.
For aging commercial trucks, this approach controls both downtime and comeback risk. Front Ends 4 Trucks can help identify compatible exterior replacement parts when the cab and front-end configuration are confirmed, including the fitment details that are easy to miss on multi-year truck platforms.
A truck that starts showing changing gaps or unexplained front-end damage is giving the shop useful information. Inspect the cab mounting system before adjusting panels or replacing another broken bracket. Correct support at the cab keeps every component around it working in the position it was designed to hold.