

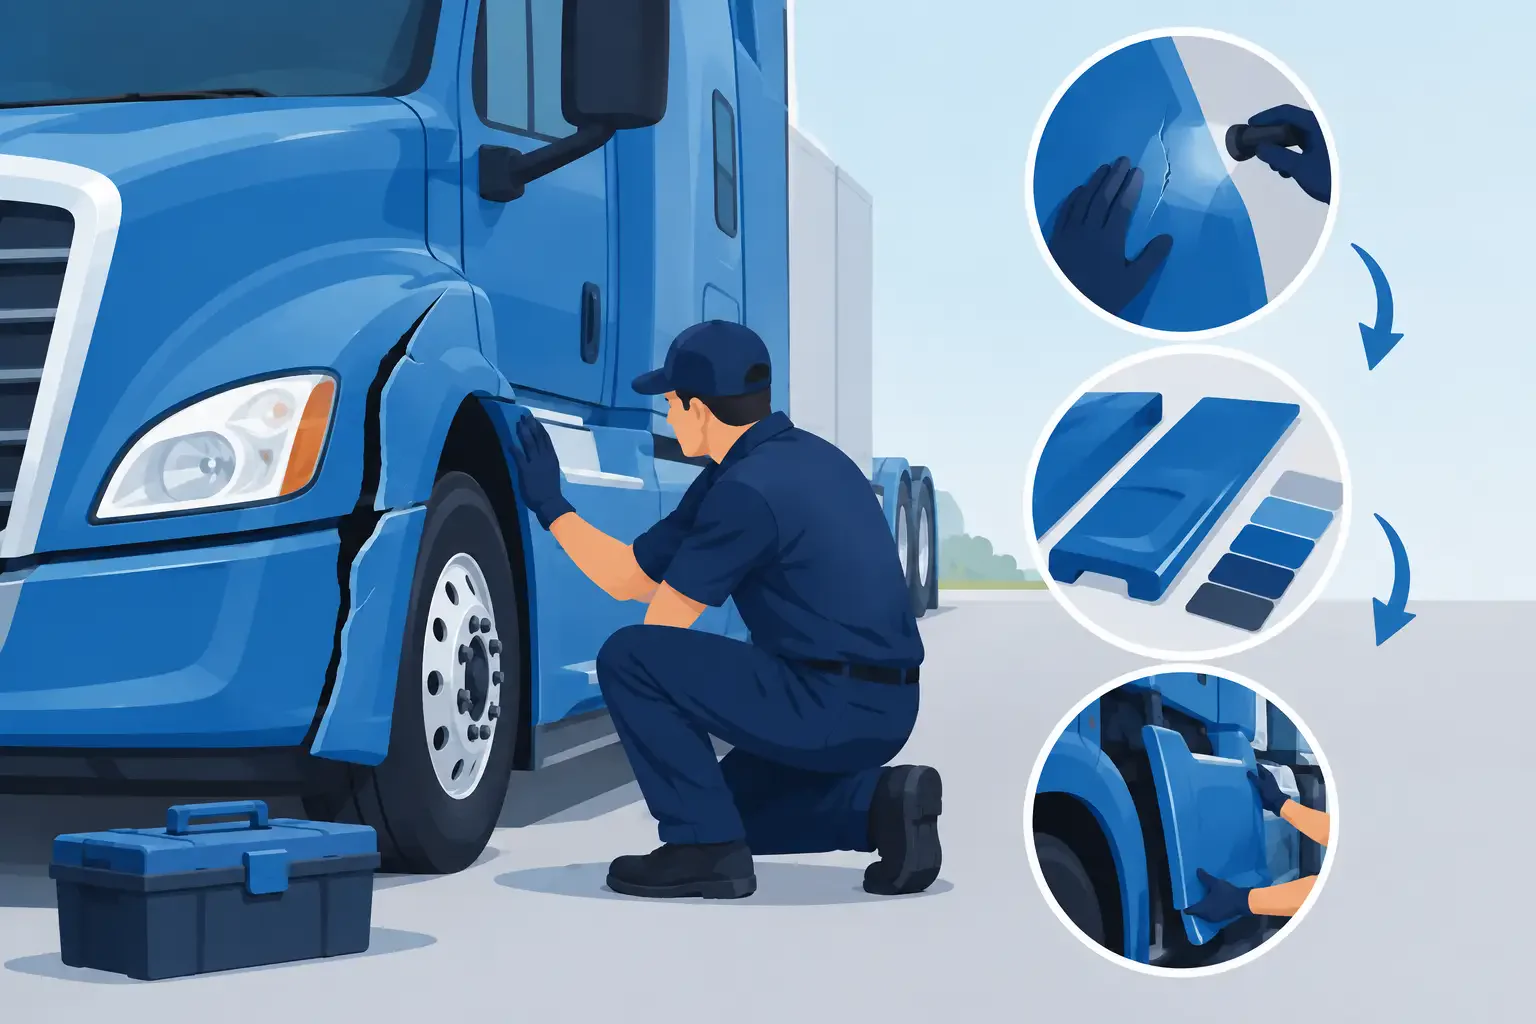
A torn side fairing or cracked roof fairing can look like a straightforward body repair until the truck is in the bay. Brackets may be bent behind the panel, mounting holes may be pulled out, and a replacement that looks right in a photo may not match the cab, fuel tank, step, or wheelbase. Effective truck fairing repair starts with identifying the exact damage and the exact truck configuration before ordering material or parts.
For fleets, body shops, and owner-operators, the decision is not just repair versus replacement. The real question is whether the finished fairing will stay secure, preserve access to service points, and match the truck well enough to avoid repeat downtime.
Start Truck Fairing Repair With a Full Damage Check
Fairings take damage from curbs, road debris, loading docks, trailer swing, tire failures, and minor collision impacts. The visible crack is often only part of the job. A fairing can remain attached after an impact while its mounting points, support rails, or adjacent steps have shifted enough to cause vibration and future failure.
Inspect the panel with the truck on level ground and check its relationship to the cab, steps, fuel tank, battery box, fender extension, and rear fairing sections. Look for uneven gaps, missing fasteners, elongated bolt holes, stress whitening in fiberglass, split plastic around mounting tabs, and rubbed areas where the panel contacts another component. If the panel has moved, inspect the bracket system before assuming a new fairing will solve the problem.
A practical inspection should document the following:
- Truck make, model, production year, and cab configuration
- Fairing location, including roof, cab side, chassis side, sleeper, or fuel-tank area
- Panel material and whether the damage is limited to the skin, flange, mounting tab, or support structure
- Existing part number, if legible, plus measurements and clear photos of the mounting area
- Nearby component differences, such as step style, tank length, axle position, exhaust routing, or battery-box location
Those details keep a repair from turning into a return, a modification job, or another round of parts hunting.
Repair or Replace? Let the Damage Decide
Minor fiberglass damage can often be repaired when the panel is otherwise complete, the mounting structure is sound, and the repair area is accessible from both sides. Hairline cracks, small punctures, surface gouges, and localized edge damage are typical repair candidates. The damaged area must be ground back beyond the visible crack, reinforced correctly, shaped, and refinished. Simply filling a crack without removing damaged material usually produces a short-term cosmetic fix.
Replacement is generally the better call when a fairing has multiple cracks, missing sections, separated mounting flanges, severe warping, or damage concentrated around attachment points. It also makes sense when the panel has been repaired several times and continues to loosen or split under road vibration. A fairing that cannot be mounted securely is not a cost-saving repair, even if it can be made to look acceptable in the shop.
Plastic fairings require a different approach than fiberglass. Some thermoplastic panels can be plastic-welded or repaired with material-specific systems, but success depends on identifying the plastic and preparing it properly. Adhesives, fillers, and paint processes that work on fiberglass may not hold on a flexible molded panel. When material type is uncertain, verify it before starting the repair.
There is also an operational trade-off. A repair may cost less in materials, but labor can climb quickly when the panel needs extensive reinforcement, finish work, or repeated test-fitting. A replacement fairing may reduce labor and improve appearance, but only if the replacement matches the truck’s setup. Compare the full job cost, including removal, bracket work, paint, hardware, and lost service time.
Fitment Is More Than the Truck Make and Model
Commercial truck body parts are not one-size-fits-all. A fairing for one model year range may differ by sleeper size, cab height, hood design, fuel tank arrangement, wheelbase, emissions equipment, or step configuration. Even two trucks with the same badge can use different panels depending on how they were built.
Before sourcing a replacement, verify whether the fairing is a left- or right-side component and whether it is a standalone panel or part of a multi-piece assembly. Confirm the number and placement of mounting points. Check whether the fairing wraps around a step, meets a fender extension, covers a battery box, or is shaped around an air cleaner or exhaust component. A small contour difference can prevent a panel from fitting correctly.
Use the old part number when available, but do not rely on it alone. Old panels may have been replaced before, modified in the field, or assigned a number that identifies only a subcomponent. Photos of the complete truck side and close-ups of the attachment areas help distinguish similar applications. Measurements between mounting holes, panel length, and clearance around fixed components can also narrow the correct part.
This is where catalog fitment notes matter. Hood length, headlamp configuration, axle arrangement, and cab style are often used to identify front-end components, while side fairings require equal attention to chassis equipment and mounting layout. If the application is unusual or the truck has vocational modifications, direct parts support can prevent an incorrect order. Front Ends 4 Trucks can assist with commercial-truck exterior component requirements beyond a basic make-and-model search.
Do Not Reuse Damaged Mounting Hardware
A new or repaired fairing needs a stable foundation. Bent brackets, cracked isolators, rusted supports, and loose fasteners are common reasons a panel fails again after installation. The fairing may appear secure while parked, then flex excessively at highway speed and crack around the bolt holes.
Remove the panel carefully enough to preserve usable reference points. Label hardware and note spacer locations, especially where the panel is shimmed for clearance. Inspect brackets for distortion against a straight edge or compare them with the opposite side when the truck uses mirrored components. Replace hardware that is stripped, corroded, stretched, or missing. Where the original design uses washers, bushings, retainers, or rubber isolators, reinstall equivalent components rather than substituting a bare fastener.
Do not overtighten fairing fasteners. Fiberglass can crack under excessive clamp load, while plastic panels need room to move with vibration and temperature changes. Tighten in stages, working across the panel to maintain even alignment. If a mounting hole is already elongated, repair the mounting area or replace the panel rather than cinching the fastener down harder.
Test-Fit Before Paint and Final Assembly
Test-fitting is one of the lowest-cost ways to avoid a bad result. Position the fairing with its brackets and primary hardware installed, then check panel gaps, door clearance, step access, tank clearance, and alignment with adjoining panels. On roof fairings, check that the panel sits evenly against the cab or sleeper and that no edge is under tension.
If the replacement panel requires finishing, test-fit it before paint whenever possible. A panel may need minor preparation, but extensive trimming is a warning sign. Stop and recheck the application if mounting holes do not line up, the panel contacts fixed equipment, or the contour does not follow the cab and chassis correctly. Forcing the part into place transfers stress into the fairing and can make a new component fail early.
After final installation, open service doors, steps, battery-box covers, and access panels that operate near the fairing. Turn the steering wheel lock to lock if the panel is near the front wheel area. Check for tire clearance at normal ride height and inspect for contact points after a short road test. A witness mark, scuffed edge, or fresh rub line is easier to correct immediately than after the panel has cracked.
Control Downtime With Better Parts Identification
Truck fairing work often gets delayed because the damaged panel was identified too broadly. “Side fairing for a Peterbilt” or “roof fairing for a Freightliner” is not enough information to order with confidence. The truck’s exact series, year range, cab or sleeper setup, equipment layout, and the panel’s physical features should be part of the request from the beginning.
Keep photos and part information in the unit’s maintenance file once the repair is complete. That record speeds up future collision work, helps standardize fleet repairs, and makes it easier to source matching panels if another truck has similar damage. For owner-operators, it also reduces the time spent trying to identify a panel after the old one has been removed or discarded.
A fairing should do more than cover the side of the truck. When the panel, brackets, hardware, and adjacent components are checked as one system, the repair is more likely to stay aligned, stay secure, and keep the truck moving.