

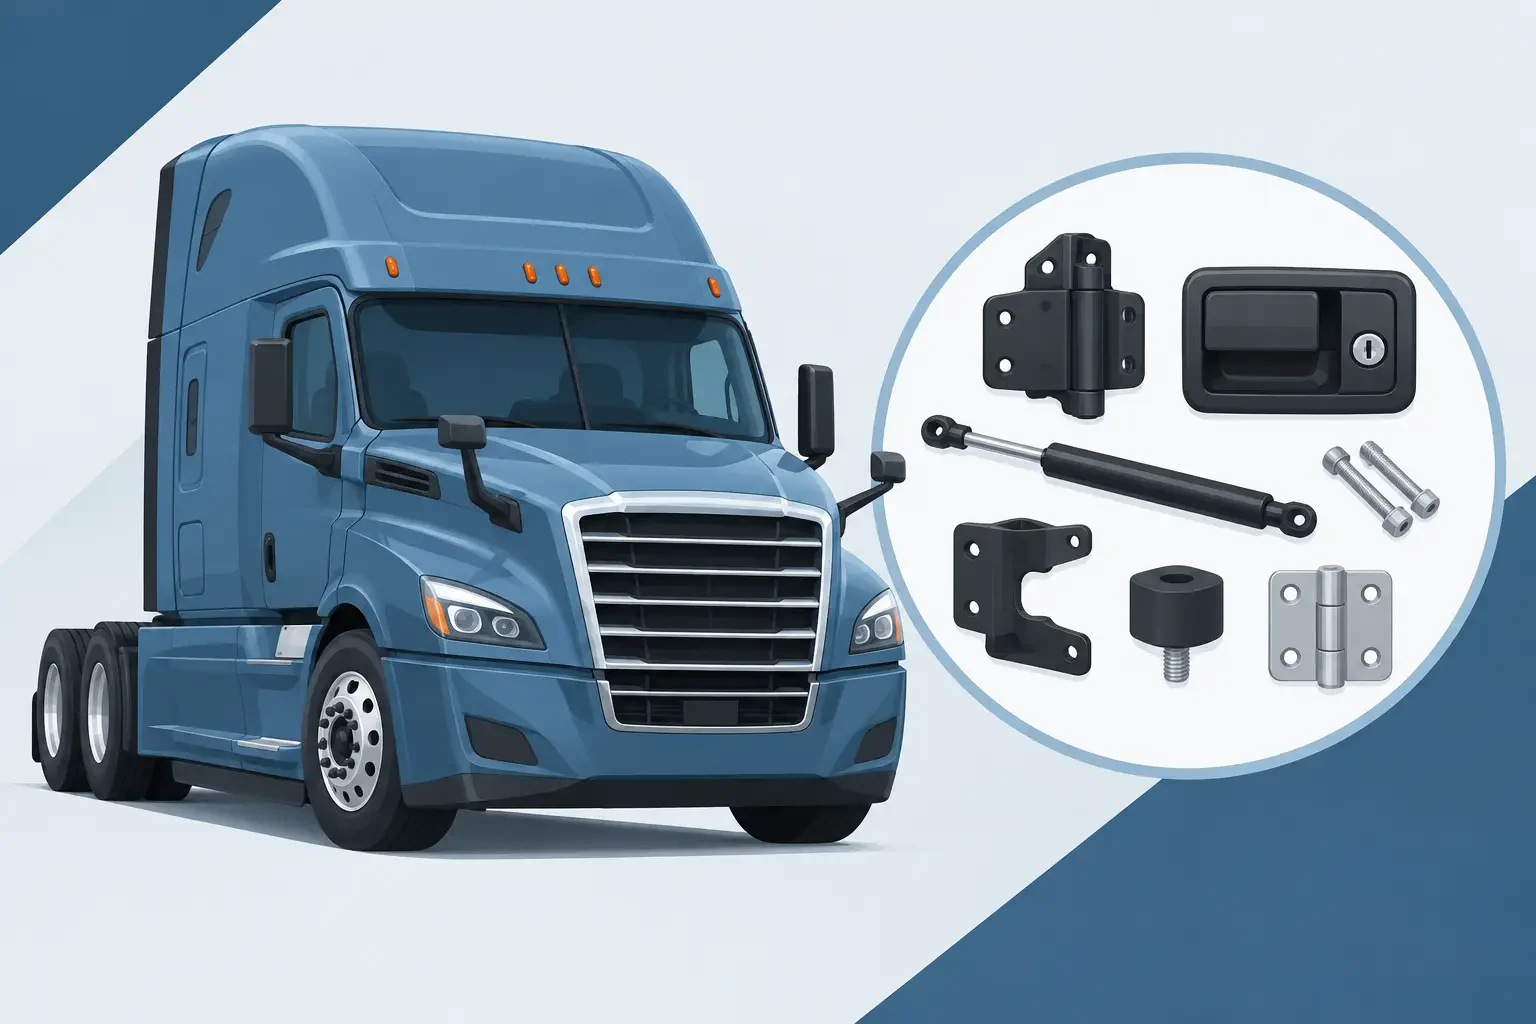
A damaged cab component can look like a simple hardware replacement until the new part reaches the shop and the mounting pattern, handle style, or cab configuration does not match. This Freightliner cab hardware guide is built around the details that prevent those delays: identifying the truck correctly, separating cab hardware from adjacent body parts, and confirming the features that affect fitment before an order is placed.
Freightliner has produced a wide range of highway, regional, vocational, and medium-duty trucks. A door handle, step bracket, mirror support, hood hinge, or latch component is not interchangeable just because it came from a Freightliner. Series, model year, cab style, hood design, and location on the truck all matter.
Start With the Freightliner Series, Not the Part Name
A parts request that starts with “Freightliner cab hardware” is a useful beginning, but it is not enough to identify a replacement. The same general component category can vary substantially between a Cascadia, Columbia, Century Class, Coronado, FLD, M2 Business Class, and older conventional or cabover application.
Confirm the series first, then document the production year range and cab configuration. For conventional trucks, identify the hood style and length where relevant. On M2 applications, establish whether the truck is an M2 106, M2 112, or another Business Class configuration. A vocational truck may share a cab family with another model while using different steps, brackets, fairings, or exterior attachments.
The vehicle identification number is valuable, but it should support a physical inspection rather than replace one. Before removing a damaged part, photograph the mounting area and record visible casting numbers, stamped numbers, or supplier markings. Measure bolt-hole spacing when the part is a bracket, hinge, step support, or other mounted component. These details give a repair shop or parts counter a practical way to rule out close-but-wrong options.
What Counts as Cab Hardware?
Cab hardware covers more than loose bolts and clips. In commercial truck repair, the term often includes the components that mount, secure, support, open, close, or protect cab-related assemblies. Depending on the repair, that may include door hinges, latches, striker hardware, exterior handles, window regulators, step mounts, grab handles, mirror brackets, cab-to-body fasteners, hood hinges, and hardware associated with battery boxes or side fairings.
The boundary between cab hardware and exterior body parts can overlap. For example, a replacement Freightliner door may require hinges, latch components, check straps, handle hardware, interior trim retainers, and mirror mounting pieces that are not included with the door shell. A damaged step assembly can involve the step itself, its support brackets, mounting hardware, and adjacent fairing panels.
Do not assume a replacement panel includes every attachment point or accessory. Aftermarket panels and structural components are commonly supplied as the primary component only. That is often the right way to control cost, but it means the repair estimate should account for reusable hardware, replacement hardware, and any damaged companion parts.
Match the Mounting Location and Function
Location is one of the most overlooked fitment details. Specify whether the component is driver side or passenger side, upper or lower, front or rear, and cab-mounted or hood-mounted. A mirror bracket may appear symmetrical in a photo but use a different angle, reinforcement plate, or wiring provision on the opposite side.
For door-related hardware, verify the door type and the exact position of the component. A left-hand latch is not merely a right-hand latch installed backward. The latch orientation, rod connection points, striker engagement, and lock cylinder provisions must match the door assembly. Check whether the truck uses manual or power window equipment, power locks, heated mirrors, or integrated wiring that passes through the door area.
Hood hardware requires the same discipline. Freightliner conventional hoods can differ by length, headlamp arrangement, grille design, and hinge setup. Confirm whether the component mounts to the hood, cab, radiator support area, or fender extension. A hinge or latch intended for one hood configuration may not align correctly on another, even within a similar production range.
Steps, Grab Handles, and Cab Entry Components
Cab entry hardware sees daily wear, road spray, and impact damage. A bent step bracket may pull a replacement step out of alignment. Before ordering, inspect the brackets behind the step, the cab mounting points, and any adjoining battery box or fairing support. If a mounting flange is cracked or pulled out, replacing the visible step alone will not restore a secure installation.
Check the step style as well. Freightliner applications may use different tread patterns, depths, support arrangements, and integrated side components. The axle position, fuel tank arrangement, and cab-to-sleeper layout can affect the surrounding hardware. Record whether the truck has side fairings, a battery box below the cab, or other equipment that shares the mounting area.
Door Hardware and Cab Access
Doors are a frequent source of repeat repair work when hardware is not inspected as a system. If the door sags, do not order a latch first. Inspect the hinges, hinge pins, bushings, door shell mounting area, striker position, and cab-side mounting surface. A worn hinge can cause a latch to bind, while a misadjusted striker can make a sound latch appear defective.
When replacing a door handle or latch, compare the original part directly. Look at lever direction, rod attachment points, lock cylinder opening, electrical connector provisions, and screw locations. For exterior handles, compare the contour where the handle meets the door skin. Small differences in trim design can indicate a different door generation or hardware setup.
Separate Reusable Hardware From Replacement Hardware
A collision repair estimate should identify which hardware can be transferred and which pieces should be replaced. Bolts, washers, clips, retainers, and brackets may look serviceable until removal exposes corrosion, stripped threads, distortion, or fatigue. Hardware near steps and under-cab components deserves particular attention because it is exposed to moisture, salt, debris, and vibration.
Reuse is reasonable when the original hardware is clean, undamaged, and holds proper torque. Replacement is the better call when threads are compromised, a fastener has stretched, a clip no longer retains firmly, or a bracket has been bent. On safety-related or load-bearing areas, a low-cost fastener is not a place to accept questionable condition.
Avoid substituting generic hardware solely because the diameter appears correct. Thread pitch, bolt grade, shoulder length, head clearance, and corrosion resistance all affect the repair. A bolt that is too long can contact wiring or interfere with moving components. One that is too short may not provide adequate thread engagement.
Use Photos and Measurements to Resolve Uncertain Fitment
For older trucks, discontinued configurations, or repairs involving prior body work, clear photos are often the fastest path to the right part. Take one wide photo showing the component in its location, then close photos of the mounting points, profile, and any identifying numbers. Include a tape measure in photos of bracket spacing or hinge dimensions when possible.
A useful parts request should include the Freightliner series, year, VIN when available, side of truck, component location, and a description of what is damaged. Add the hood type, headlamp configuration, grille style, cab style, or axle arrangement if the component is near the front end or lower cab area. That information reduces back-and-forth and helps identify exclusions before the part is shipped.
Front Ends 4 Trucks works with the fitment details that matter in heavy-duty exterior repair. When the visible catalog does not settle an uncommon Freightliner application, direct parts support can help narrow the correct component and related hardware needed to complete the job.
Inspect Before Final Assembly
Once the replacement hardware is on hand, test-fit it before paint work or final assembly where possible. Start bolts by hand, verify alignment, and confirm that moving parts operate without binding. On doors, check panel gaps, latch engagement, handle operation, and glass travel. On steps, check clearance, support alignment, and cab mounting integrity before applying final torque.
A correct Freightliner cab hardware repair is not just a part that bolts on. It is a component that matches the truck’s configuration, restores proper function, and holds up to the daily vibration and working conditions of commercial service. Taking a few minutes to verify those details before ordering can keep the truck out of the bay and back in service sooner.