

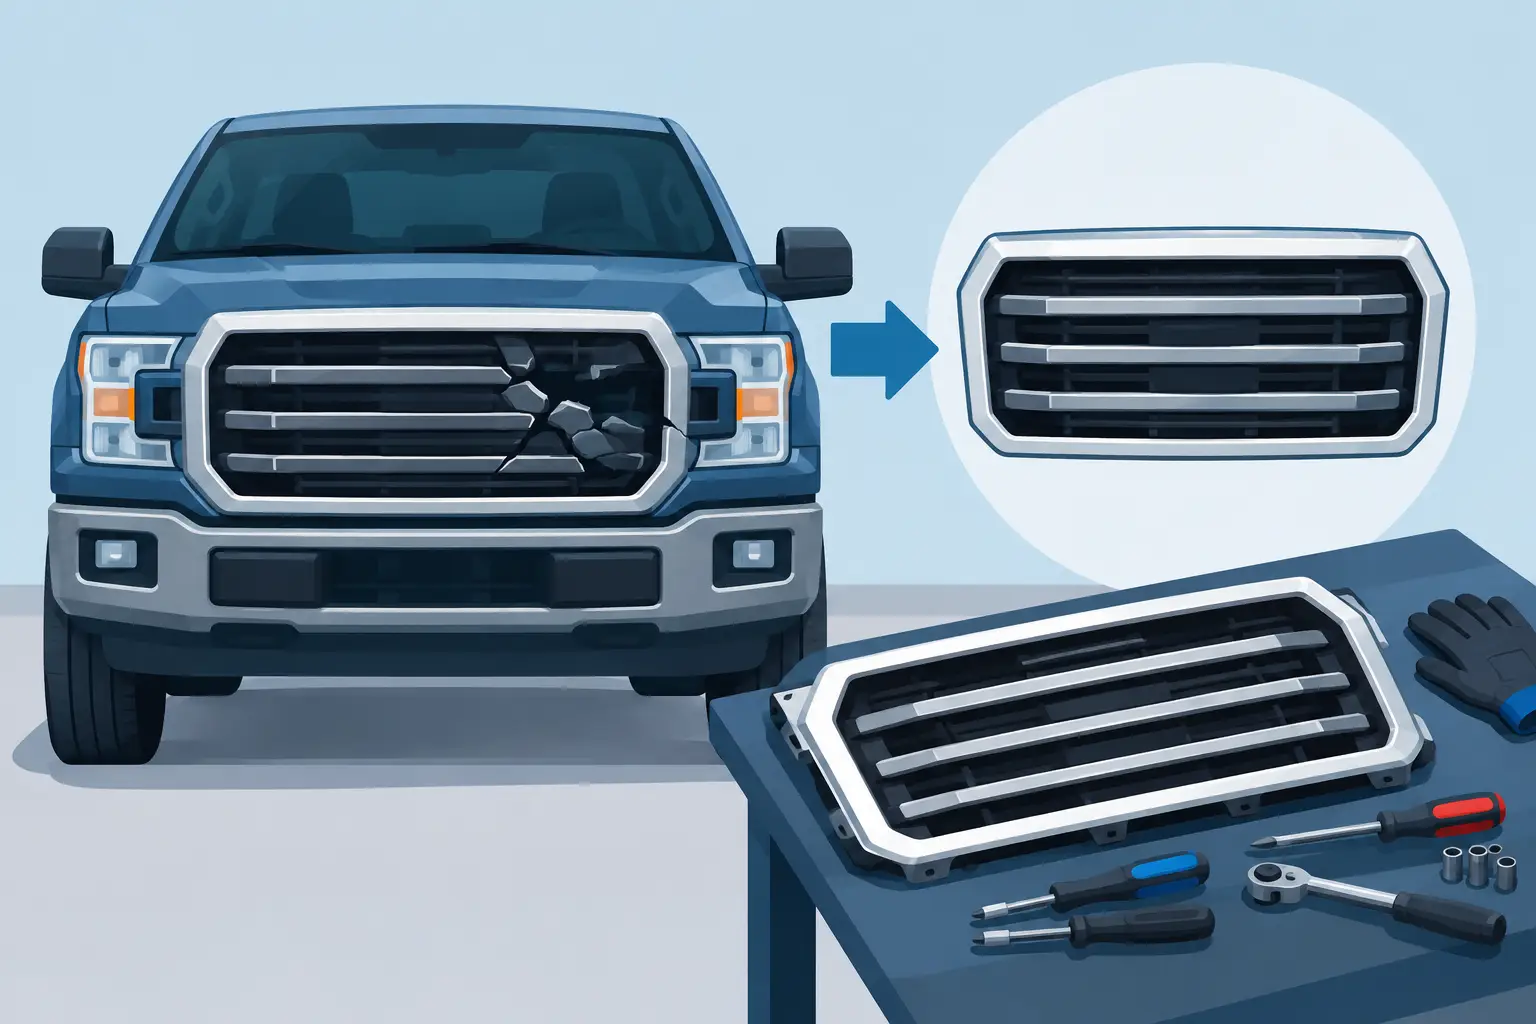
A cracked grille can look like a cosmetic problem, but on a commercial truck it can quickly become a fitment, cooling, lighting, and uptime problem. When you need to replace a damaged truck grille, identify the complete front-end configuration before ordering anything. The truck make and model are only the starting point. Hood length, grille opening, headlamp layout, bumper style, and model year can all change the part required.
A grille replacement goes faster when the correct component arrives the first time. That means inspecting the damage, confirming what is actually broken, and matching the replacement to the truck in front of you – not just to a broad model name.
Confirm What Needs Replacement Before Ordering
A front-end impact often damages more than the visible grille insert. Check whether the grille itself is cracked, missing tabs, bowed inward, or separating from the surround. Then inspect the parts that locate and support it. A grille that will not sit square may have a damaged surround, hood mounting point, headlamp bezel, bumper bracket, radiator support, or hood extension behind it.
Look closely at these areas before pulling the damaged assembly:
- Grille mounting tabs, retainers, screws, clips, and threaded inserts
- Grille surround and adjacent hood or fender edges
- Headlamp housings, bezels, mounting buckets, and wiring connectors
- Hood hinges, latch alignment, safety catch, and front hood support structure
- Charge-air cooler, radiator, condenser, and active shutters where equipped
This inspection determines whether you need a grille only or a broader group of front-end components. Ordering a new grille for a distorted surround or cracked hood nose usually creates another repair cycle. The grille may technically fit the application but still show uneven gaps, bind during hood operation, or leave exposed mounting points.
Match the Truck Configuration, Not Just the Badge
The same manufacturer can use different grille designs across closely related truck series. A single production run may include changes in headlamp shape, hood profile, emblem placement, grille bar design, or mounting locations. Medium-duty and heavy-duty trucks can also share a cab while using different hood and front-end assemblies.
Start with the VIN and the truck’s model designation, then verify the details visible on the vehicle. Record the model year, hood length or BBC measurement when applicable, headlamp style, axle configuration if it affects hood selection, and whether the grille mounts directly to the hood or into a separate surround. Clear photos of the complete front end and the rear of the damaged grille are useful when an application has multiple options.
For example, a replacement grille for a conventional truck may differ depending on whether the truck has rectangular or composite headlamps, a chrome or painted surround, a set-forward axle hood, or a longer hood. On cab-over and vocational applications, differences in fascia, bumper cutouts, and lamp locations can be just as important.
Do not assume a grille will interchange because the truck is in the same model family. Confirm the exact production years listed for the part and read exclusions carefully. If the truck has been rebuilt after a prior collision, verify that the existing hood and lighting package match the original configuration. A truck may carry a later-model hood or an aftermarket headlamp setup that changes the grille required.
Choosing an Aftermarket Replacement Grille
An aftermarket grille is often the practical choice for collision repair, fleet refurbishment, or replacement of aging front-end components. The right part should provide the correct mounting arrangement, overall opening shape, and clearance for surrounding components. It should also suit the work the truck performs. A fleet tractor, refuse unit, vocational truck, and owner-operated highway truck may have different priorities for finish, appearance, serviceability, and budget.
Material matters, but fitment matters first. Many commercial-truck grille assemblies use molded plastic, composite construction, mesh, or metal elements depending on the application. A replacement should sit flat without forcing the hood, pulling against the headlamp housings, or relying on oversized fasteners to make up for damaged mounts.
Finish is another decision point. A black grille, chrome-style grille, painted surround, or bare service part may all be correct for different trim levels. When repairing a collision unit, compare the new component against the undamaged side of the truck and the fleet’s appearance standard. If the truck needs to return to a uniform fleet specification, confirm whether emblems, trim strips, inserts, or mounting hardware are included or must be sourced separately.
Front Ends 4 Trucks organizes replacement exterior parts by manufacturer and exact truck series because those details control the outcome of the repair. If an application is not clear from the available information, provide the truck details and photos before ordering rather than guessing from a generic description.
How to Replace a Damaged Truck Grille Without Creating New Problems
Park the truck on level ground, secure it, and open or tilt the hood according to the manufacturer’s service procedure. Disconnect battery power if the repair requires unplugging front lighting, grille-mounted sensors, or electrical components. Protect the bumper and fenders with covers, especially when removing a large grille or surround that can shift unexpectedly.
Remove the Old Grille Carefully
Begin by removing any trim pieces, emblems, access panels, or lamp bezels that overlap the grille. Keep hardware organized by location. Commercial truck grilles may use a mix of bolts, push retainers, speed nuts, clips, and molded tabs. A missing clip can allow a new grille to vibrate, while an overtightened fastener can crack a plastic mounting ear.
Do not pry aggressively around the visible edge. Find every fastener from the rear side where possible, then release tabs evenly. If the grille is broken, it may be tempting to pull it apart quickly. That can damage a usable hood edge, surround, or headlamp mounting point and turn a grille job into a larger repair.
Once removed, compare the old grille and the replacement side by side. Check the number and position of tabs, mounting holes, lamp openings, emblem provisions, air passages, and outer contours. A quick comparison before installation catches many wrong-part issues while the truck is still apart.
Repair Supporting Damage First
Straighten or replace damaged brackets and supports before installing the new grille. Check that the hood closes evenly and that the latch engages correctly. If the hood sits low on one side, the grille may appear misaligned even when the part is correct.
Inspect the cooling stack for contact marks or damage from the impact. Make sure no wiring harness, washer hose, air line, or sensor lead will rub against the new grille. On trucks equipped with cameras, radar, active grille shutters, or collision-avoidance hardware, follow the applicable service procedure for removal, reinstallation, and calibration. A grille replacement should not leave a safety system obstructed or out of position.
Install Loosely, Then Set the Gaps
Position the grille and start all fasteners by hand. Leave them loose enough to make minor adjustments. Check the gaps at the hood, headlamps, fenders, bumper, and grille surround before tightening anything. The objective is consistent spacing and a grille that follows the hood contour without stress.
Tighten fasteners evenly to the vehicle manufacturer’s specified torque where specifications are available. Do not use excessive force on plastic components. Replace damaged clips, stripped speed nuts, and corroded hardware rather than forcing old hardware back into service.
Close the hood slowly and check clearance through the full motion. Verify that the grille does not contact the bumper, headlamps, or hood latch area. Test headlamps, marker lamps, turn signals, washer functions, and any sensors or cameras disturbed during the repair. A short road test can help identify a loose grille, vibration, or rattle that is not obvious in the shop.
Avoid the Most Common Grille Replacement Delays
The most expensive mistakes usually happen before installation. Ordering by model name alone, assuming all grilles in a year range interchange, and overlooking a damaged surround are common sources of downtime. So is transferring damaged clips or brackets to a new component because the correct small hardware was not identified during teardown.
For fleet repairs, build a record of the truck’s configuration when the part is confirmed. Note the VIN, year, model, hood style, headlamp arrangement, grille type, and part number used. That record speeds up future collision repairs and helps maintenance teams avoid repeat fitment questions across similar units.
A properly matched grille should install without forcing panels into place, restore the truck’s front-end appearance, and leave the hood, lighting, and cooling areas working as intended. Take the extra few minutes to verify the configuration before ordering. It is usually the fastest way to get the truck back in service with one repair instead of two.