

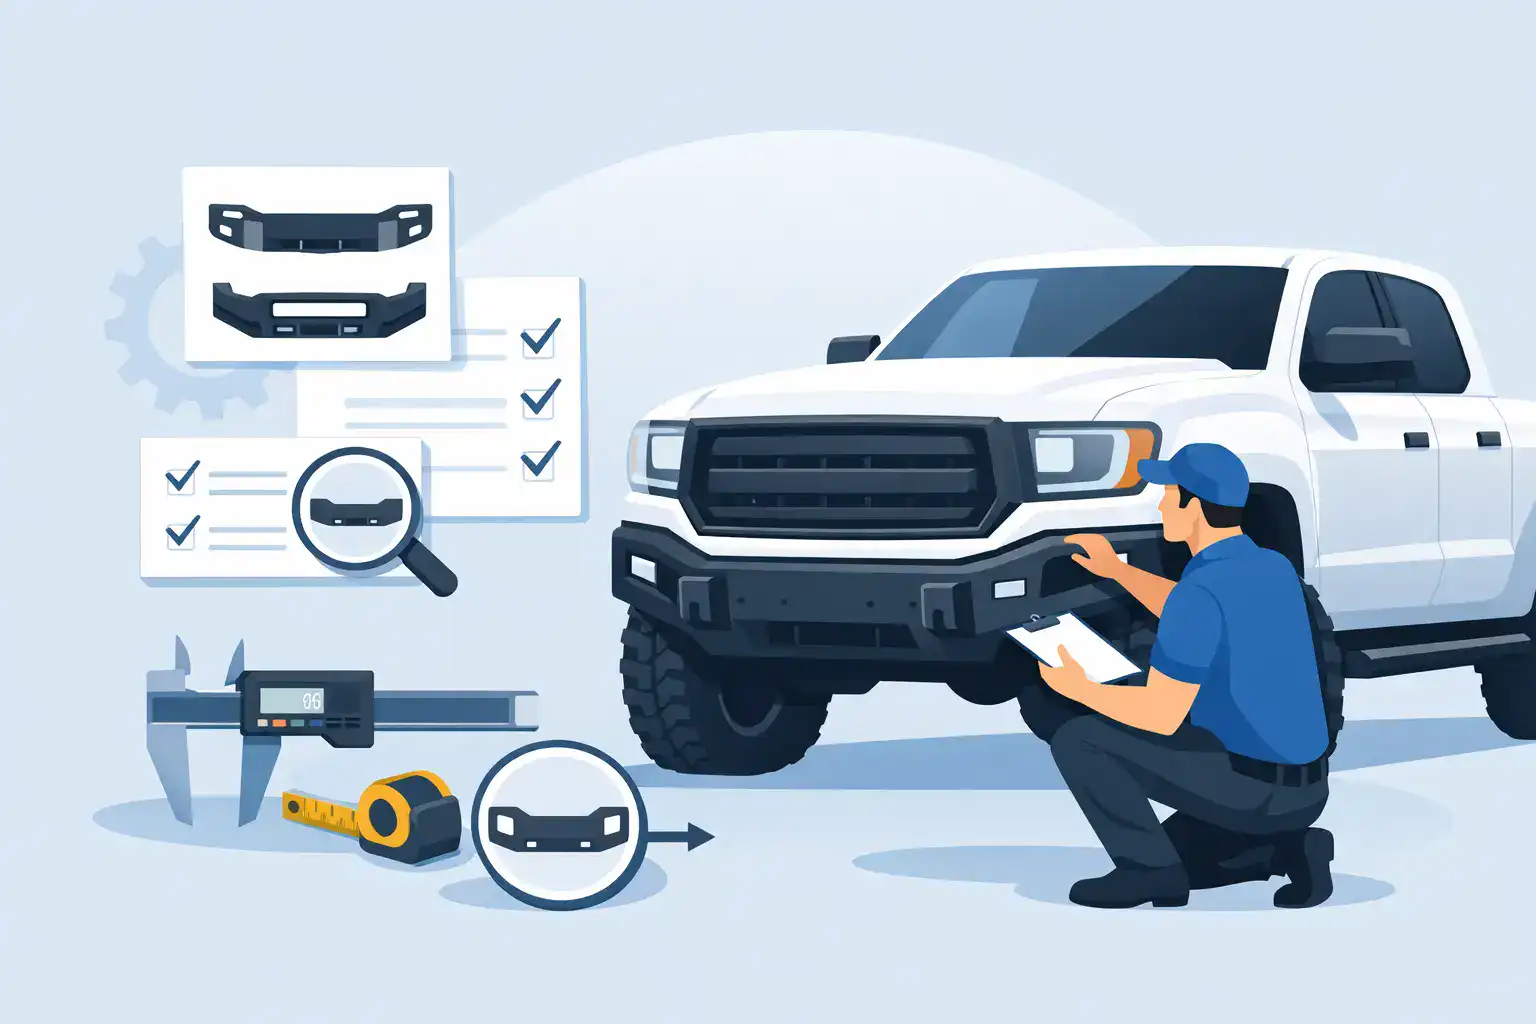
A damaged bumper can hold up a truck that is otherwise ready to return to service. Truck bumpers are not a universal exterior part, especially across medium- and heavy-duty applications. A bumper that appears correct in a catalog photo may have the wrong bracket spacing, lamp cutouts, tow provisions, center section, or profile for the truck in the bay.
For collision repair, fleet maintenance, and refurbishment work, correct identification comes before ordering. The goal is not simply to replace visible damage. It is to restore the front or rear assembly with parts that mount correctly, clear adjacent components, and match the truck’s actual configuration without adding avoidable labor.
Start With the Truck Configuration
Make, model, and year are the baseline, not the complete fitment record. A Freightliner, International, Kenworth, Peterbilt, Mack, Volvo, or Western Star can have multiple bumper arrangements within the same production range. Changes in hood style, grille design, axle position, headlamp layout, cab configuration, and optional equipment can all affect the correct part.
Confirm the truck’s VIN when available, then compare the damaged component with the replacement specifications. Record whether the bumper is front or rear, one-piece or sectional, chrome, painted steel, aluminum, or composite. Note every opening, mounting point, sensor location, lamp position, and attached bracket before the old part leaves the truck.
This work is particularly important on trucks that have been repaired before. A replacement hood, aftermarket grille, altered front-end support, or non-original brackets may change what is needed. Do not assume the existing bumper is the original factory configuration just because it bolts on.
Details That Change Bumper Fitment
The most common ordering errors come from overlooking physical details that are easy to see on the truck. Measure the overall width and depth where practical. Check the number and location of mounting holes. Identify whether the bumper wraps around the fender, sits below a grille surround, or supports an integrated step or valance.
On front-end applications, check clearance around the hood and fenders through the full hood travel. Tilt-hood trucks need special attention. A bumper that looks close at rest can contact the hood, headlamp bezel, grille, or extension when the hood is opened.
For rear applications, verify frame width, hitch equipment, underride components, step positions, mud flap brackets, and lighting. Vocational trucks may also carry specialized body equipment that limits bumper shape or mounting options. The right answer depends on the truck’s working configuration, not just the badge on the hood.
Choose the Right Truck Bumper Material
Material selection should match the job, operating environment, and customer expectation. There is no single best material for every truck bumper replacement.
Chrome-plated steel remains common on highway tractors and owner-operator equipment where appearance matters alongside impact resistance. It can provide the traditional finish customers expect, but it should be inspected carefully after an impact. A bumper that is bent, creased, or pulled at a mounting area may not align properly even if the chrome surface can be made to look acceptable.
Painted steel bumpers are often a practical choice for work trucks and fleet equipment. They can suit applications where serviceability and cost control take priority over a show finish. They may require paint preparation and coating work to match the truck or fleet standard.
Aluminum bumpers reduce weight and resist corrosion well, which can make them useful in certain highway and regional applications. Their damage behavior differs from steel. A hard strike can produce deformation or cracking that calls for replacement rather than repair. Confirm mounting hardware and support compatibility instead of treating aluminum and steel versions as interchangeable.
Composite and fiberglass bumper components are common in assemblies designed around specific hood and grille systems. These parts may be light and application-specific, but they require proper support, fastener placement, and finishing procedures. Over-tightening hardware or mounting a component against a misaligned adjacent panel can lead to stress cracks.
Inspect What Is Behind the Damage
A bumper is often the first part to show collision damage, but it is rarely the only affected part. Before quoting a repair, inspect the bumper mounts, frame horns, brackets, supports, grille surround, hood extensions, fenders, headlamp assemblies, and wiring. On modern truck configurations, also check sensors, camera hardware, radar brackets, and harness routing where equipped.
A replacement bumper will not correct a bent support or shifted front-end structure. Forcing a new part into place can create uneven gaps, damage mounting holes, or put load into a grille and hood that were not designed to carry it. If the bumper sits low on one side, contacts a fender, or will not center at the grille, stop and identify the underlying cause.
Corrosion matters as much as impact damage on older units. Inspect mounting faces and hardware for rust scale, elongated holes, seized fasteners, and weakened brackets. Reusing compromised hardware can turn a straightforward bumper replacement into a repeat repair after the truck returns to service.
Do Not Order From a Photo Alone
Photos help identify the general style, but they cannot confirm all fitment points. A front bumper with similar contours may be intended for a different hood length, grille configuration, or headlamp arrangement. Even small changes in the center opening or end profile can signal a different application.
Use photos as one part of the process. Compare them with measurements, mounting details, production year, and the shape of the surrounding panels. If the truck has an unusual specification, document it with clear images of the complete front end, the rear of the bumper, brackets, and any identifying numbers on the existing part.
Plan the Installation Before the Part Arrives
The fastest repair is the one that does not stall after the replacement part is unpacked. Review whether the bumper arrives bare, primed, finished, or with specific hardware included. Verify whether lamps, brackets, trim, step inserts, tow hook covers, sensor bezels, or reinforcement pieces transfer from the damaged assembly or must be ordered separately.
Set the truck on level ground before final alignment. Loosely install mounting hardware, center the bumper to the grille and hood, and establish consistent clearance at both fenders. Then tighten fasteners according to the truck manufacturer’s service information and the component requirements. On a tilt-hood truck, cycle the hood before calling the job complete.
After installation, verify lights, harnesses, sensors, and any added accessories. A bumper can fit physically while a pinched wire, blocked sensor, or loose harness creates a second repair. For fleet units, include the bumper and mounting inspection in the final work order so future technicians have a clear record of what was replaced.
Control Downtime With Better Parts Identification
For shops and fleets, bumper selection is a downtime decision. Ordering the wrong part adds return handling, labor, bay time, and missed revenue. Spending a few extra minutes confirming the vehicle series and configuration is usually less costly than discovering a fitment issue during installation.
Keep the truck’s identifying information with the repair file: VIN, make, model, year, cab style, hood style, photos, measurements, and the original part number when readable. This record helps with future collision work and makes repeat sourcing faster for fleet equipment.
Front Ends 4 Trucks focuses on commercial-truck exterior parts where those fitment distinctions matter. When the visible listing does not settle an application, provide the vehicle details and component photos needed to identify the correct replacement instead of guessing from a general description.
A bumper replacement should put the truck back on the road with clean alignment, secure mounting, and no surprises when the hood opens or the lights come on. Start with the configuration, inspect the supporting structure, and order the part that matches the truck actually in front of you.
 English
  Spanish