

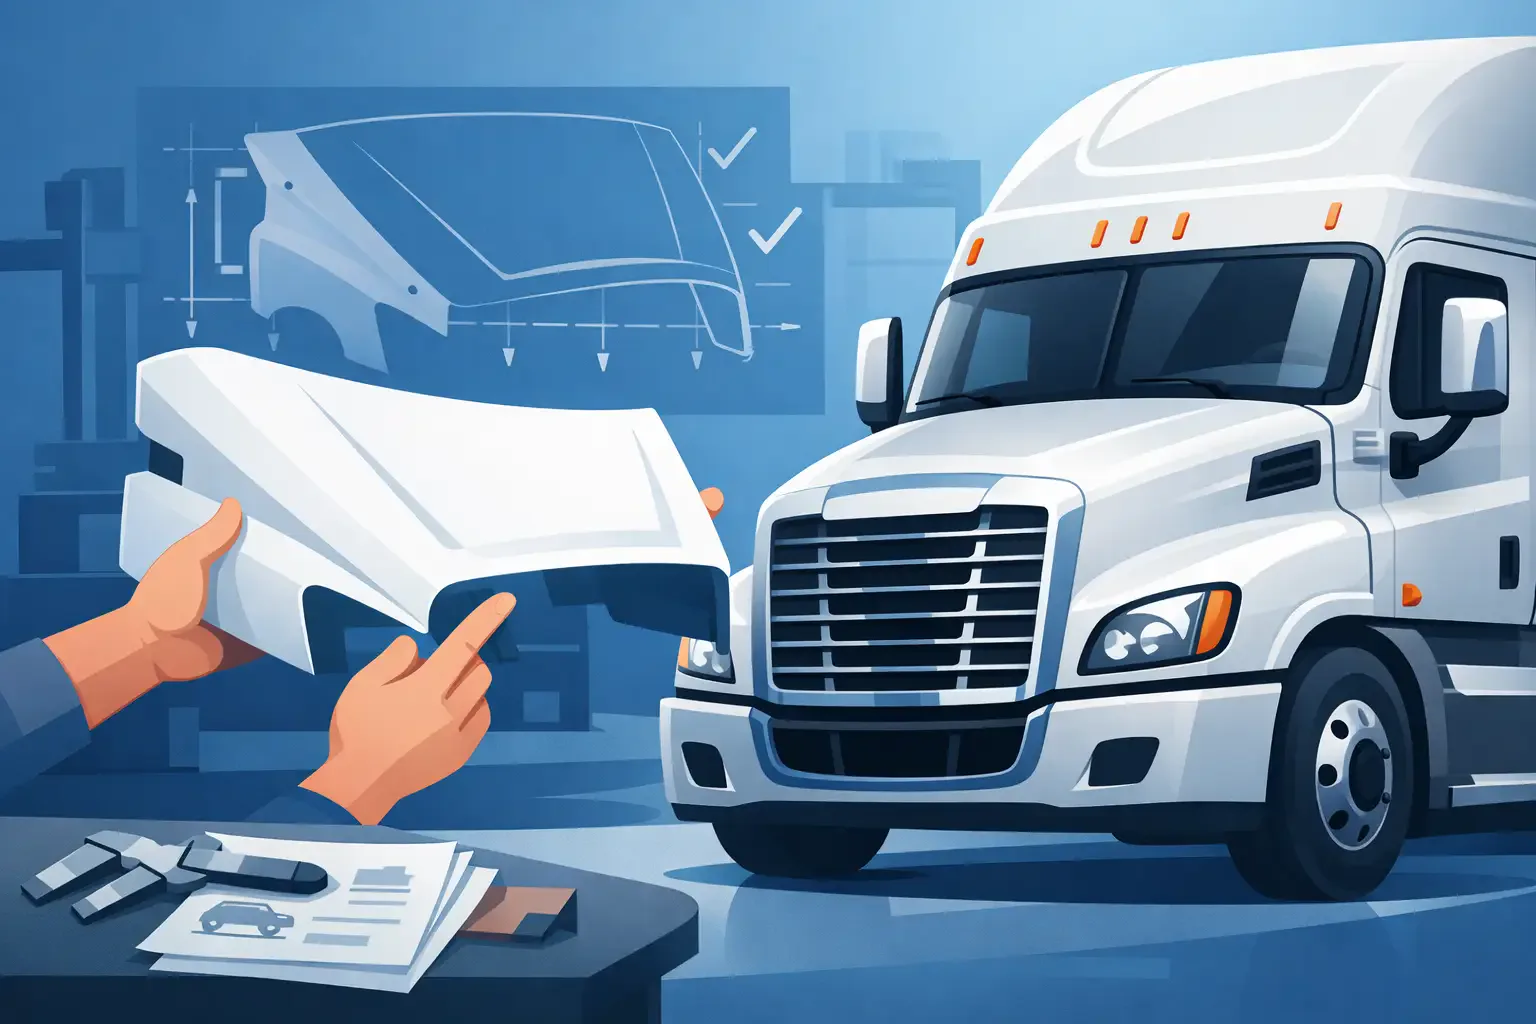
A Freightliner hood can look right from across the yard and still be wrong at the hinges, grille opening, headlamp pockets, or bumper line. That is where repair delays start. This Freightliner hood guide is built for shops, fleets, and owner-operators who need to identify the truck correctly before ordering a replacement hood or related front-end parts.
Freightliner has produced several long-running truck families with visual similarities and meaningful fitment differences. Model designation is the starting point, not the final answer. Confirm the cab and hood configuration, production range, axle position, lighting layout, and grille design before treating any hood as a direct replacement.
Start With the Freightliner Model Family
The truck’s model badge gives you a direction, but it does not always identify the exact hood. A Century, Columbia, Coronado, Cascadia, FLD, M2 106, or M2 112 can have variations tied to year, engine installation, axle placement, and factory front-end design.
Freightliner conventional models are commonly grouped into two basic repair situations. The first is a highway tractor with a long fiberglass hood, such as an FLD, Classic, Century, Columbia, Coronado, or Cascadia. The second is a medium-duty or vocational truck, including M2 applications, where hood length, fender shape, grille profile, and headlamp design can change across configurations.
Do not substitute a nearby model name for an exact identification. A Columbia hood is not automatically interchangeable with a Century hood simply because both are conventional Freightliner tractors from a similar era. The cab may appear familiar while the hood-to-cab line, headlight assembly, grille surround, or hinge hardware differs.
When the badge is missing or the truck has been repainted, use the VIN as a supporting identifier and verify it against the physical truck. The VIN can help establish the production range and original model, but photos and measurements remain necessary when a truck has had collision repairs or front-end conversions.
Freightliner Hood Guide: Fitment Details That Matter
A correct hood order starts with the details that affect the physical installation. Have these answers before selecting a part number or requesting a quote.
Hood length and front axle position
Measure from the rear mounting area or cab reference point to the front of the hood, and note where the front axle sits relative to the hood opening. Freightliner conventional trucks may use different hood lengths within the same model family. A setback axle configuration and a set-forward axle configuration can require different hood designs, even when the cab and grille look close.
For vocational and medium-duty work trucks, do not assume the model number alone provides the answer. An M2 106 and M2 112 serve different applications, and wheelbase or axle configuration may influence the front-end components required for the repair.
Headlamp layout and bezel shape
Headlamp pockets are one of the fastest ways to rule out an incorrect hood. Check whether the truck uses composite headlamps, separate lamps, mounted bezels, or a different headlight shape from an earlier or later production design. Look at both sides. A previous collision repair may have mixed components from different years.
Take a straight-on photo of the front, then photos of each headlamp opening. Include the surrounding fiberglass, grille edge, and bumper area. These photos help confirm whether the hood is designed for the lamps already on the truck or whether the repair requires matching headlamps, bezels, or grille components.
Grille and grille-surround configuration
A grille opening is not just a styling detail. Its width, contour, mounting points, and relation to the hood center section determine whether the grille and surround will install correctly. Freightliner trucks can use different grille configurations within a generation, particularly when comparing standard highway applications with premium trim or model updates.
If the grille was damaged along with the hood, identify both pieces together. Ordering a hood without checking the grille opening can leave a truck waiting on an additional part after the hood is already in the shop.
Hinge, latch, and support hardware
Most replacement hood questions eventually come back to hardware. Confirm the hinge style, hinge location, latches, safety catch, hood support, and any mounting brackets attached to the original hood. Some replacement hoods are supplied as the fiberglass shell and may require transfer of reusable hardware. Others may call for separate related components depending on the application.
Inspect the old hood before disposal. Keep the hinges, latch parts, hood cables, fasteners, headlamps, and grille hardware organized until the new hood is test-fitted. That approach prevents a small missing component from holding up the entire repair.
Identify Damage Beyond the Hood
A hood that will not align often points to damage outside the hood itself. Before ordering, inspect the bumper, bumper brackets, radiator support area, fenders, inner fender panels, grille surround, headlamp mounts, and cab-side mounting points. On a severe front-end impact, a replacement hood alone may not correct gaps at the grille or fender extensions.
Look for cracked fiberglass around hinge mounts, distorted metal brackets, and missing reinforcement pieces. Hood damage can also expose problems with the cooling package, air intake components, charge-air plumbing, or radiator mounts. The goal is not to add parts unnecessarily. It is to identify the complete repair scope before the truck is down for installation.
For fleets, this is where a repair estimate should separate visible parts from likely supporting components. A shell, grille, lamps, bumper, and hardware may be quoted as individual items, but they function as one front-end system. Confirming that system up front reduces supplemental orders and repeated disassembly.
Fiberglass Hood Repair or Replacement?
Fiberglass Freightliner hoods can often be repaired when cracks are localized and the hinge structure, latch area, and main shape remain sound. A properly repaired hood may be a practical option for minor damage, especially when the truck needs to return to service quickly and the damage is outside a structural mounting area.
Replacement is usually the better direction when the hood has extensive cracking, torn hinge areas, damaged inner reinforcement, major distortion, or previous repairs that have failed. Alignment matters on commercial trucks. A hood that closes poorly or rubs against fenders can create repeat work, damage fresh paint, and cause safety concerns around the latch.
Cost is part of the decision, but so is labor. A less expensive damaged hood may consume more shop time in fiberglass work, alignment, and refinishing than a replacement shell. It depends on the condition of the original hood, parts availability, paint requirements, and how long the unit can remain out of service.
What to Have Ready Before You Order
The fastest parts identification happens when the truck information is complete. Gather the model, production year, VIN, hood measurements, axle configuration, and clear photos before contacting a supplier. Photos should show the complete truck front, both sides of the hood, hinge area, headlamp openings, grille, and any identifying labels still attached to the damaged component.
Also state what you need: hood shell only, complete hood assembly, grille, grille surround, headlamps, bumper, fenders, or related hardware. If the truck is a fleet unit with a prior nonstandard repair, say so. That detail can explain why the visible front end does not match the original production configuration.
At Front Ends 4 Trucks, fitment questions are handled around the exact truck configuration, not just a broad model name. When an online listing does not settle the application, direct parts support can help narrow down the required hood and related exterior components before an order is placed.
Test-Fit Before Paint and Final Assembly
Do not send a fiberglass hood directly to final paint without a test-fit. Mount the hood, verify hinge travel, check cab and fender gaps, install or position the grille, and confirm the latch closes and releases correctly. Check clearance around headlamps, bumper corners, air intake pieces, and any hood-mounted trim.
A dry fit is especially valuable when multiple front-end parts are being replaced after a collision. Minor adjustments are much easier before paint, decals, lights, and trim are installed. Once fitment is confirmed, finish the hood and complete final assembly with the original or replacement hardware specified for the application.
The truck does not need a hood that is merely close. It needs a hood that lines up, latches safely, accepts the correct front-end components, and puts the unit back on the road without another parts delay.
 Spanish
  English